Learning how to replace roof shingles can help homeowners protect their property value, prevent water damage, improve safety, and support better energy efficiency. Damaged or missing shingles may look like a small issue at first, but they can quickly lead to leaks, insulation damage, mold, and expensive structural repairs. This guide explains when roof shingle replacement is needed, what tools and safety gear to use, how the repair process works, what costs to consider, and when it is best to hire a local roofing professional.
When Should You Replace Metal Shingles?
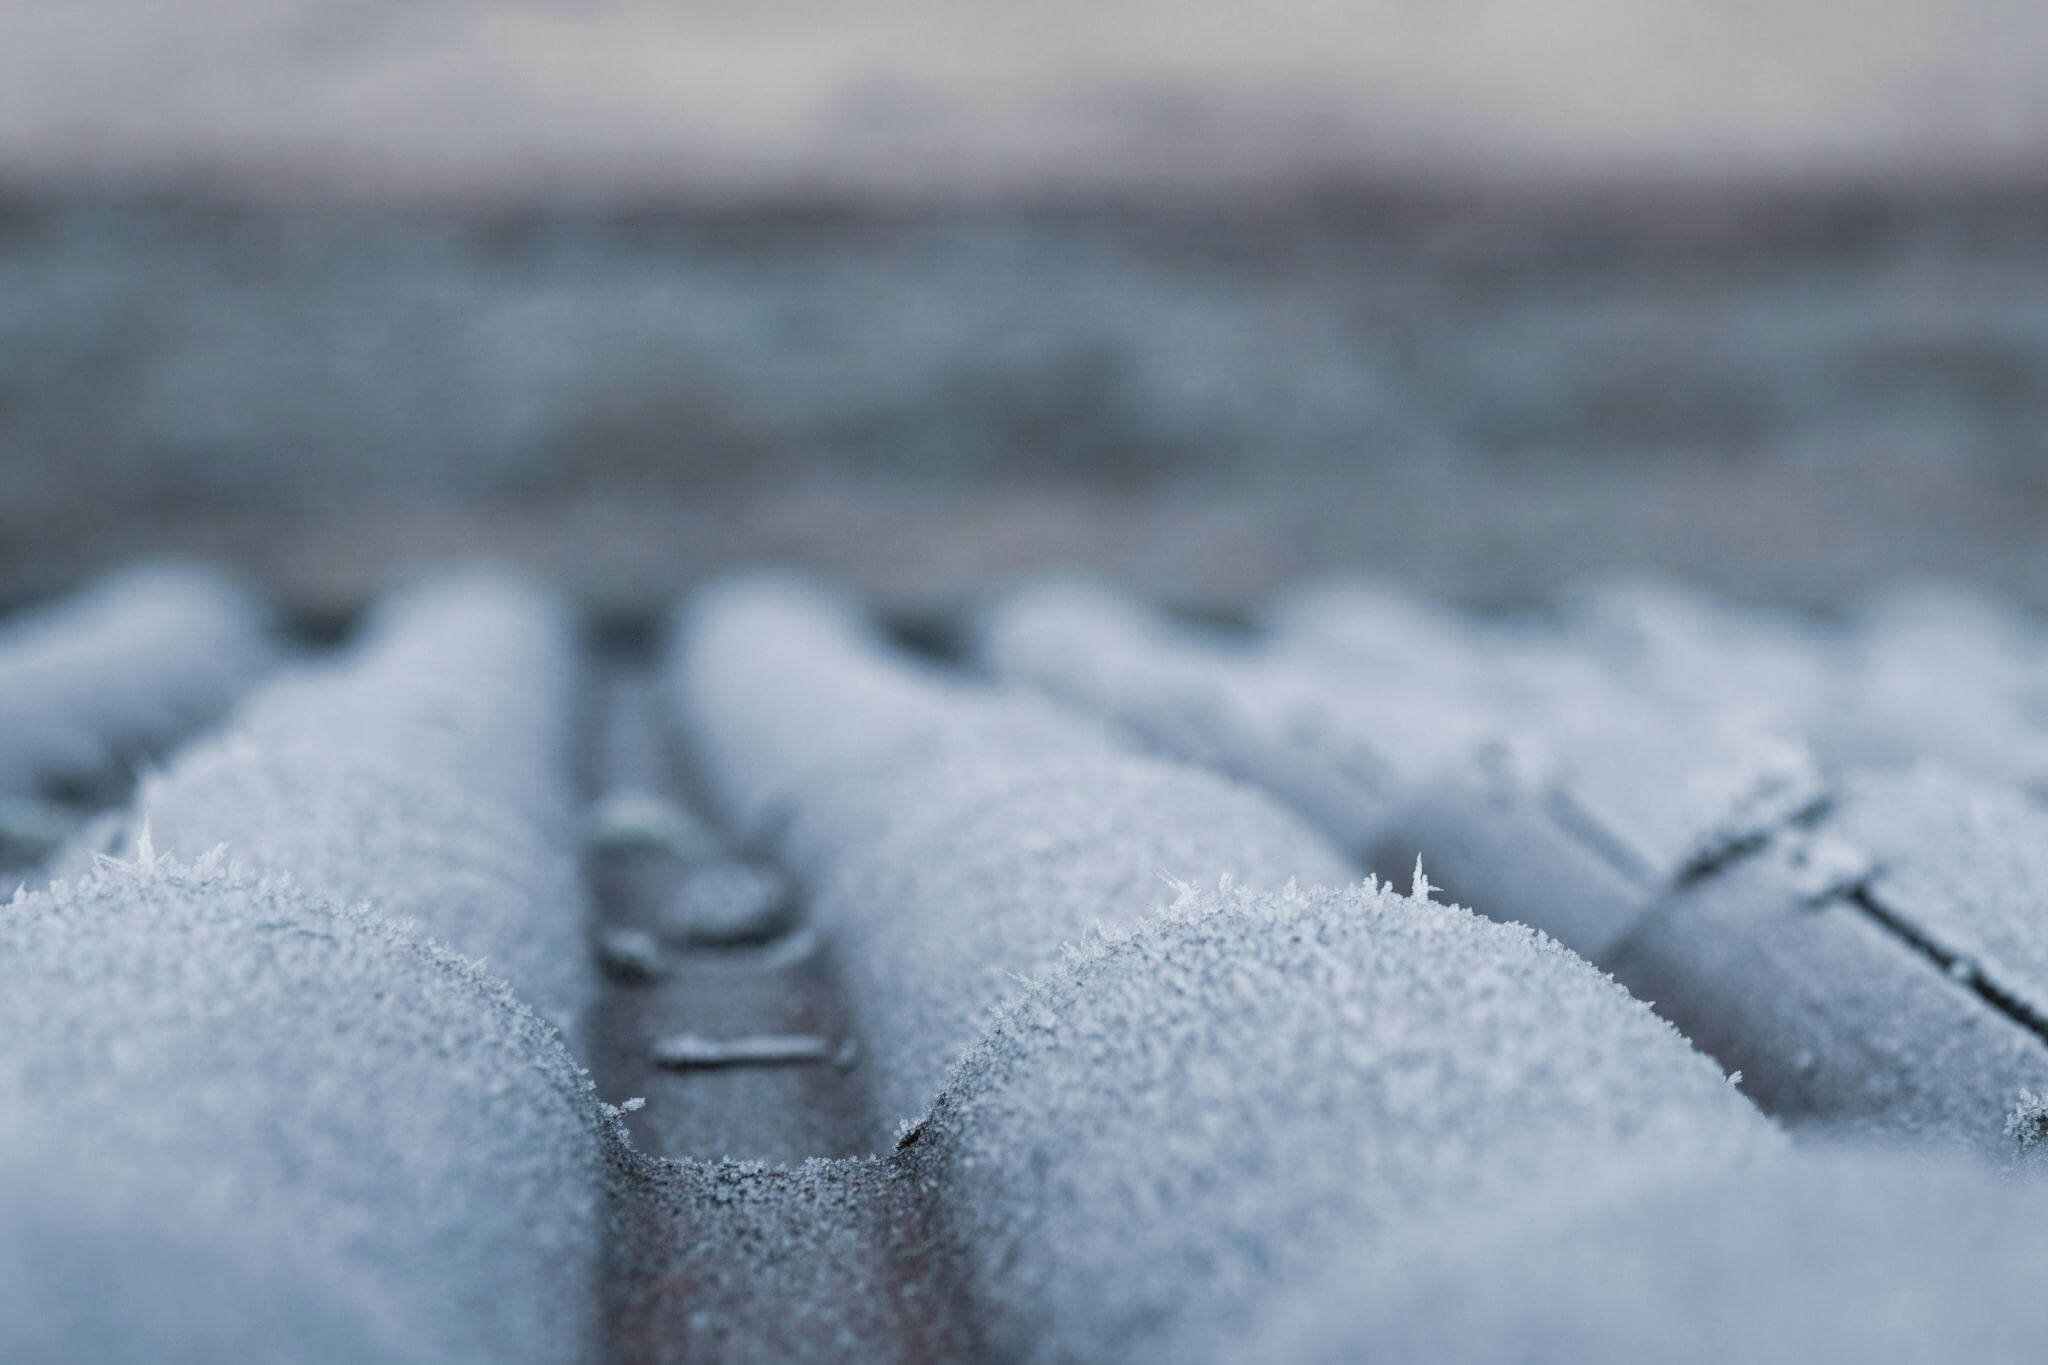
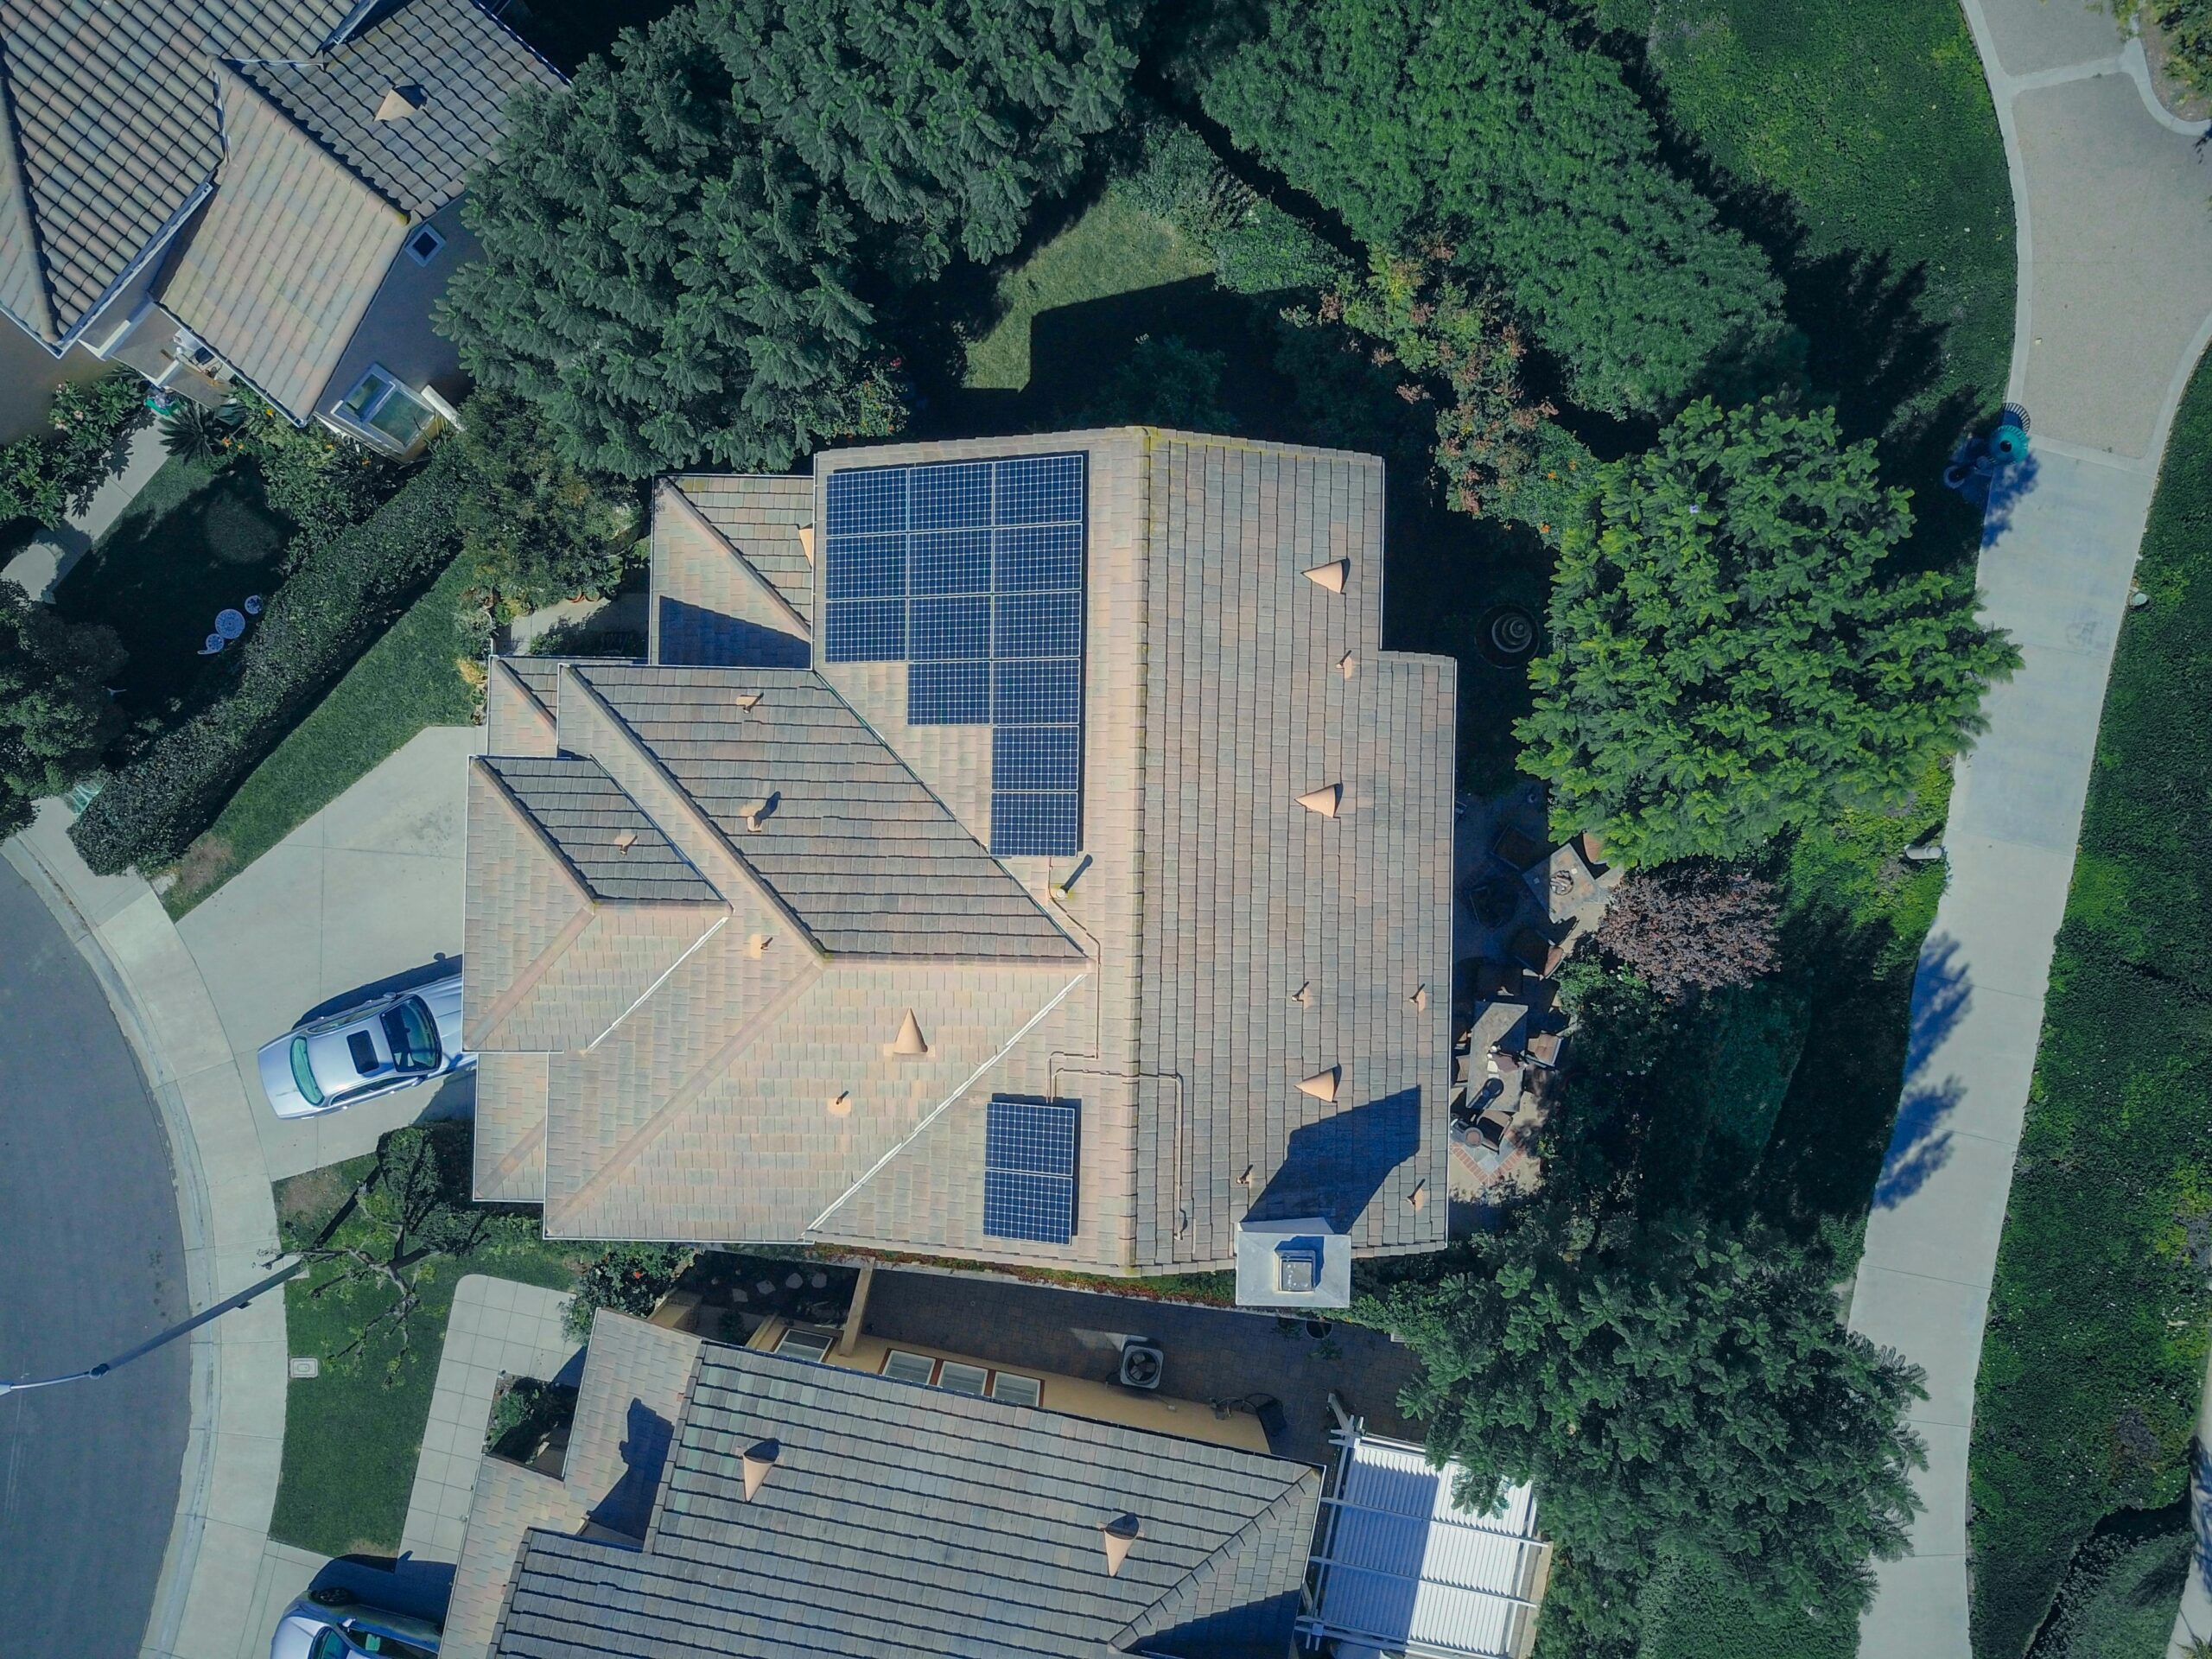
Metal shingles are designed to last, but they still need repair or replacement when damage affects performance. Homeowners should inspect their roofs after major storms, strong winds, heavy snow, hail, or visible changes in roof condition.
1. Visible Damage
Visible damage is one of the clearest signs that metal shingles may need replacement. Common warning signs include dents, rust, corrosion, cracks, warping, fading, lifted panels, or shingles that no longer sit flat against the roof.
Even minor exterior damage can weaken the roof’s ability to shed water and resist severe weather. A dented or lifted metal shingle may allow moisture to reach the underlayment, fasteners, or roof deck. If the problem is not repaired early, it can spread to surrounding shingles and create a more expensive roofing issue.
2. Leaks or Water Damage
Roof leaks often show up inside the home before the exterior damage is obvious. Look for ceiling stains, attic moisture, peeling paint, mold growth, musty odors, dripping water, or water intrusion after storms.
A leak may point to damaged shingles, failed flashing, worn sealant, loose fasteners, or deeper roofing system problems. Since moisture can damage insulation, framing, drywall, and electrical systems, leaks should be addressed immediately. If you notice signs of water damage, schedule a roof inspection before the issue becomes structural.
3. Age of the Roof
Metal roofing systems can last for decades, but their lifespan depends on material quality, installation, weather exposure, ventilation, and maintenance. Harsh storms, poor installation, coastal air, freeze-thaw cycles, and neglected repairs can shorten the life of a metal roof.
If your roof is older and repairs are becoming more frequent, replacement may be more cost-effective than continuing to patch isolated problems. A professional roofer can evaluate whether a targeted shingle repair is enough or whether a full roof replacement would provide better long-term protection.
4. Loose or Missing Shingles
Strong winds, aging fasteners, improper installation, and storm damage can cause metal shingles to loosen, shift, or detach. Once one shingle is loose, nearby shingles may become more vulnerable during the next storm.
Delaying repairs can allow water to penetrate the roof system, damage insulation, weaken the underlayment, and cause additional shingle loss. If you notice missing shingles, especially after a storm, take action quickly. You can also review more information about replacing missing shingles and why fast repair matters.
Tools, Materials, and Safety Gear Needed for Replacing Metal Shingles
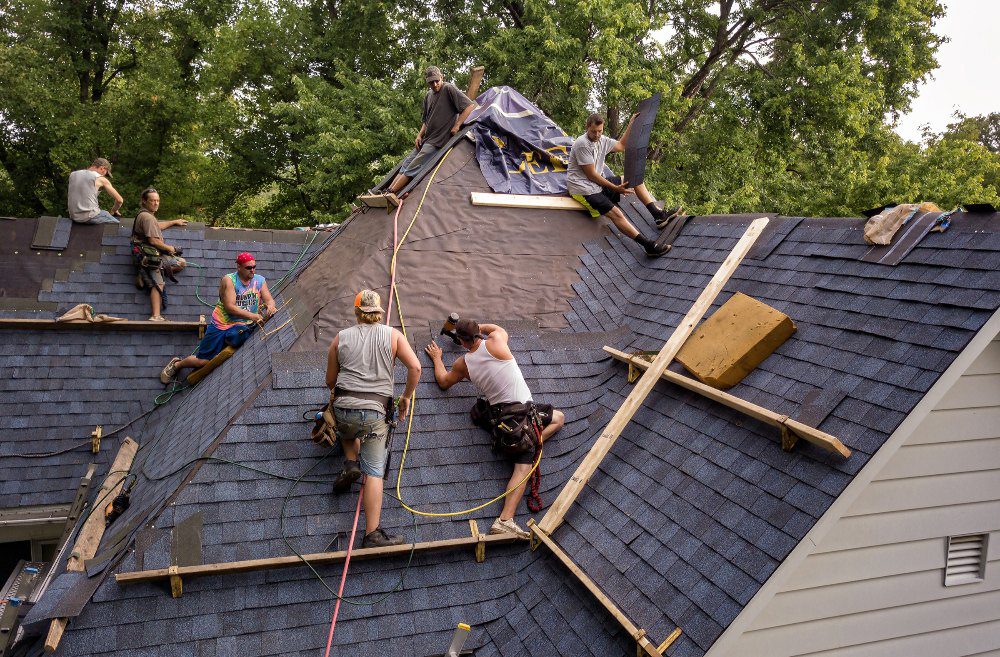
Before starting any roof shingle replacement project, gather the right tools, materials, and safety equipment. Working on a roof is dangerous, and metal roofing surfaces can be slippery. Proper equipment helps reduce installation mistakes, improves repair quality, and lowers the risk of injury.
If the roof is steep, high, wet, storm-damaged, or structurally weak, do not attempt a DIY repair. Contact a professional roofer instead.
Tools and Materials
Roofing Shingle Remover
A roofing shingle remover or pry bar helps lift and remove damaged shingles without harming surrounding roofing materials. Using the proper removal tool makes the repair faster and reduces the chance of bending nearby metal shingles, tearing underlayment, or damaging fasteners.
Hammer and Roofing Nails
Roofing nails and a hammer are used to secure replacement shingles properly. For metal roofing systems, use corrosion-resistant roofing nails or approved fasteners designed for the roof material, manufacturer requirements, and local weather conditions. The wrong fasteners can rust, loosen, or compromise the repair.
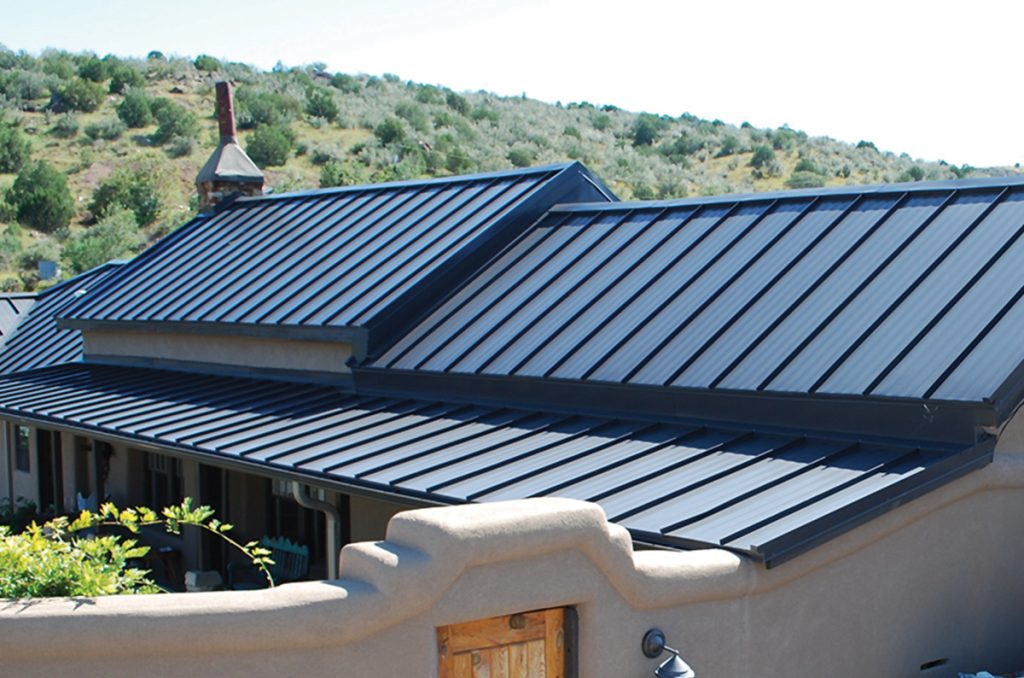
Replacement Metal Shingles
Replacement shingles should match the existing roof as closely as possible in material, color, profile, finish, thickness, and manufacturer specifications. Mismatched shingles can affect curb appeal, water shedding, wind resistance, and long-term roof performance.
Roofing Cement
Roofing cement or approved sealant helps secure shingles, seal vulnerable areas, reduce wind uplift, and create a waterproof barrier around the repaired section. Proper sealing is especially important in storm-prone or high-wind regions where lifted edges can become a recurring problem.
Safety Equipment
Roofing Harness and Roof Anchor
A roofing harness and roof anchor help protect against serious fall injuries when working on sloped roofs. Fall-protection systems are especially important for multi-story homes, steep roof pitches, and any project that requires extended time on the roof.
Rubber-soled Shoes or Roofing Boots
Slip-resistant rubber-soled shoes or roofing boots improve traction and stability on metal roofing surfaces. Proper footwear helps reduce the risk of falls, especially in humid, rainy, dusty, or shaded conditions where the roof surface may be slick.
Sturdy Extension Ladder with Stabilizer
A properly secured extension ladder with a stabilizer is essential for safe roof access. Place the ladder on level ground, secure it before climbing, and avoid using it during high winds, rain, or unstable conditions. The ladder should extend above the roof edge so you can transition safely on and off the roof.
Safety Glasses and Work Gloves
Safety glasses and work gloves protect against sharp metal edges, flying debris, nails, sealant, and roofing materials. Metal shingles can have sharp corners, so hand and eye protection are important during removal and installation.
Step-by-Step Guide to Replacing Metal Shingles
The steps below are intended for minor, isolated metal shingle repairs. If you find widespread damage, soft decking, active leaks, damaged flashing, or structural concerns, stop and call a roofing professional.
1. Assess the Damage
Start by inspecting the affected area from the ground when possible. Look for cracked, loose, rusted, lifted, warped, dented, or missing metal shingles. Also check for exposed fasteners, gaps, damaged sealant, bent edges, and shingles that no longer align with surrounding panels.
If it is safe to access the attic, look for hidden signs of moisture damage such as dark stains, damp insulation, mold, musty odors, or light coming through the roof deck. Pay close attention to flashing around chimneys, vents, skylights, valleys, and roof edges. If the roof deck feels soft, the leak is widespread, or the damage appears structural, contact a professional roofing contractor before continuing.
2. Remove the Damaged Shingles
Carefully lift the surrounding shingles or panels according to the roof system’s installation method. Use a roofing shingle remover or pry bar to loosen the damaged shingle without bending or scratching nearby materials.
Remove fasteners slowly and avoid ripping them through the metal or underlayment. If the shingle is sealed in place, gently break the seal instead of forcing it loose. Work patiently, since rushed removal can damage adjacent shingles and turn a small repair into a larger roof problem.
3. Prepare the Roof for New Shingles
Once the damaged shingle is removed, clean the area thoroughly. Remove loose debris, old sealant, rust flakes, broken fasteners, and any material that may prevent the new shingle from sitting flat.
Inspect the underlayment and roof deck for moisture damage. If the deck is soft, stained, rotted, or uneven, the roof needs professional attention before a new shingle is installed. Proper preparation helps replacement shingles last longer, seal better, and perform more reliably during wind and rain.
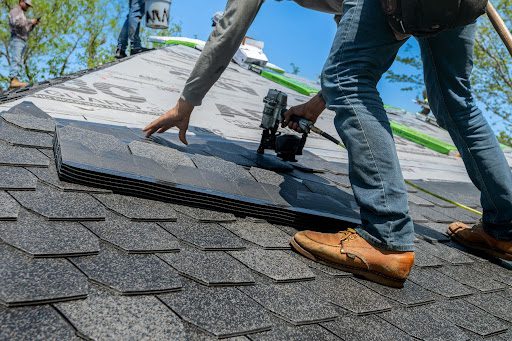
Install the New Metal Shingles
Slide the replacement metal shingle into position and align it with the surrounding shingles. Make sure the profile, overlap, and exposure match the existing roof pattern. Poor alignment can create gaps that allow water intrusion.
Secure the shingle using approved fasteners and the manufacturer’s recommended fastening pattern. Avoid overdriving nails or screws, since that can dent the metal or weaken the seal. Apply roofing cement or approved sealant where needed to protect fasteners, edges, and overlaps. Always follow manufacturer recommendations and local building codes for proper weather protection.
Inspect Your Work
After installation, inspect the repaired area carefully. Check for loose fasteners, uneven shingles, exposed gaps, lifted edges, damaged sealant, poor alignment, and any opening that could allow water to enter.
Look at the repair from multiple angles to make sure the shingle sits flush with the surrounding roof. If anything looks uneven or unstable, correct it before leaving the roof. After the next heavy rain, inspect the attic and ceilings for moisture, stains, or signs that water is still entering.
Perform Regular Maintenance
Regular maintenance helps extend the life of metal shingles and reduce the risk of expensive roof repairs. Inspect your roof at least twice a year and after major storms. Remove leaves, branches, and debris that can trap moisture. Keep gutters clean so water can flow away from the roof and foundation.
Watch for loose fasteners, rust spots, lifted shingles, damaged flashing, and sealant wear. Preventative maintenance is one of the most cost-effective ways to protect your roof, reduce repair costs, and catch problems before they become major damage.
DIY vs Hiring a Professional
DIY roof shingle replacement may be reasonable for a small, isolated repair on a low-slope roof when the homeowner has the right tools, safety equipment, and experience. However, roof work is risky. Falls, improper fastening, poor sealing, and hidden moisture damage can create serious safety and financial problems.
Professional roofers are better equipped to handle steep roofs, storm damage, flashing repairs, widespread shingle loss, ventilation concerns, and structural issues. They can also determine whether the issue is limited to a few shingles or if the roof system needs more extensive repair.
Cost is another important factor. A small DIY repair may only require replacement shingles, fasteners, sealant, and basic tools. Professional repair costs vary based on roof height, slope, material type, damage severity, labor, access, and whether flashing or decking repairs are needed. If the damage is large or recurring, a professional inspection can help determine whether repair or replacement is the smarter investment.
To compare options, homeowners can explore professional roofing services or request a free consultation before deciding.
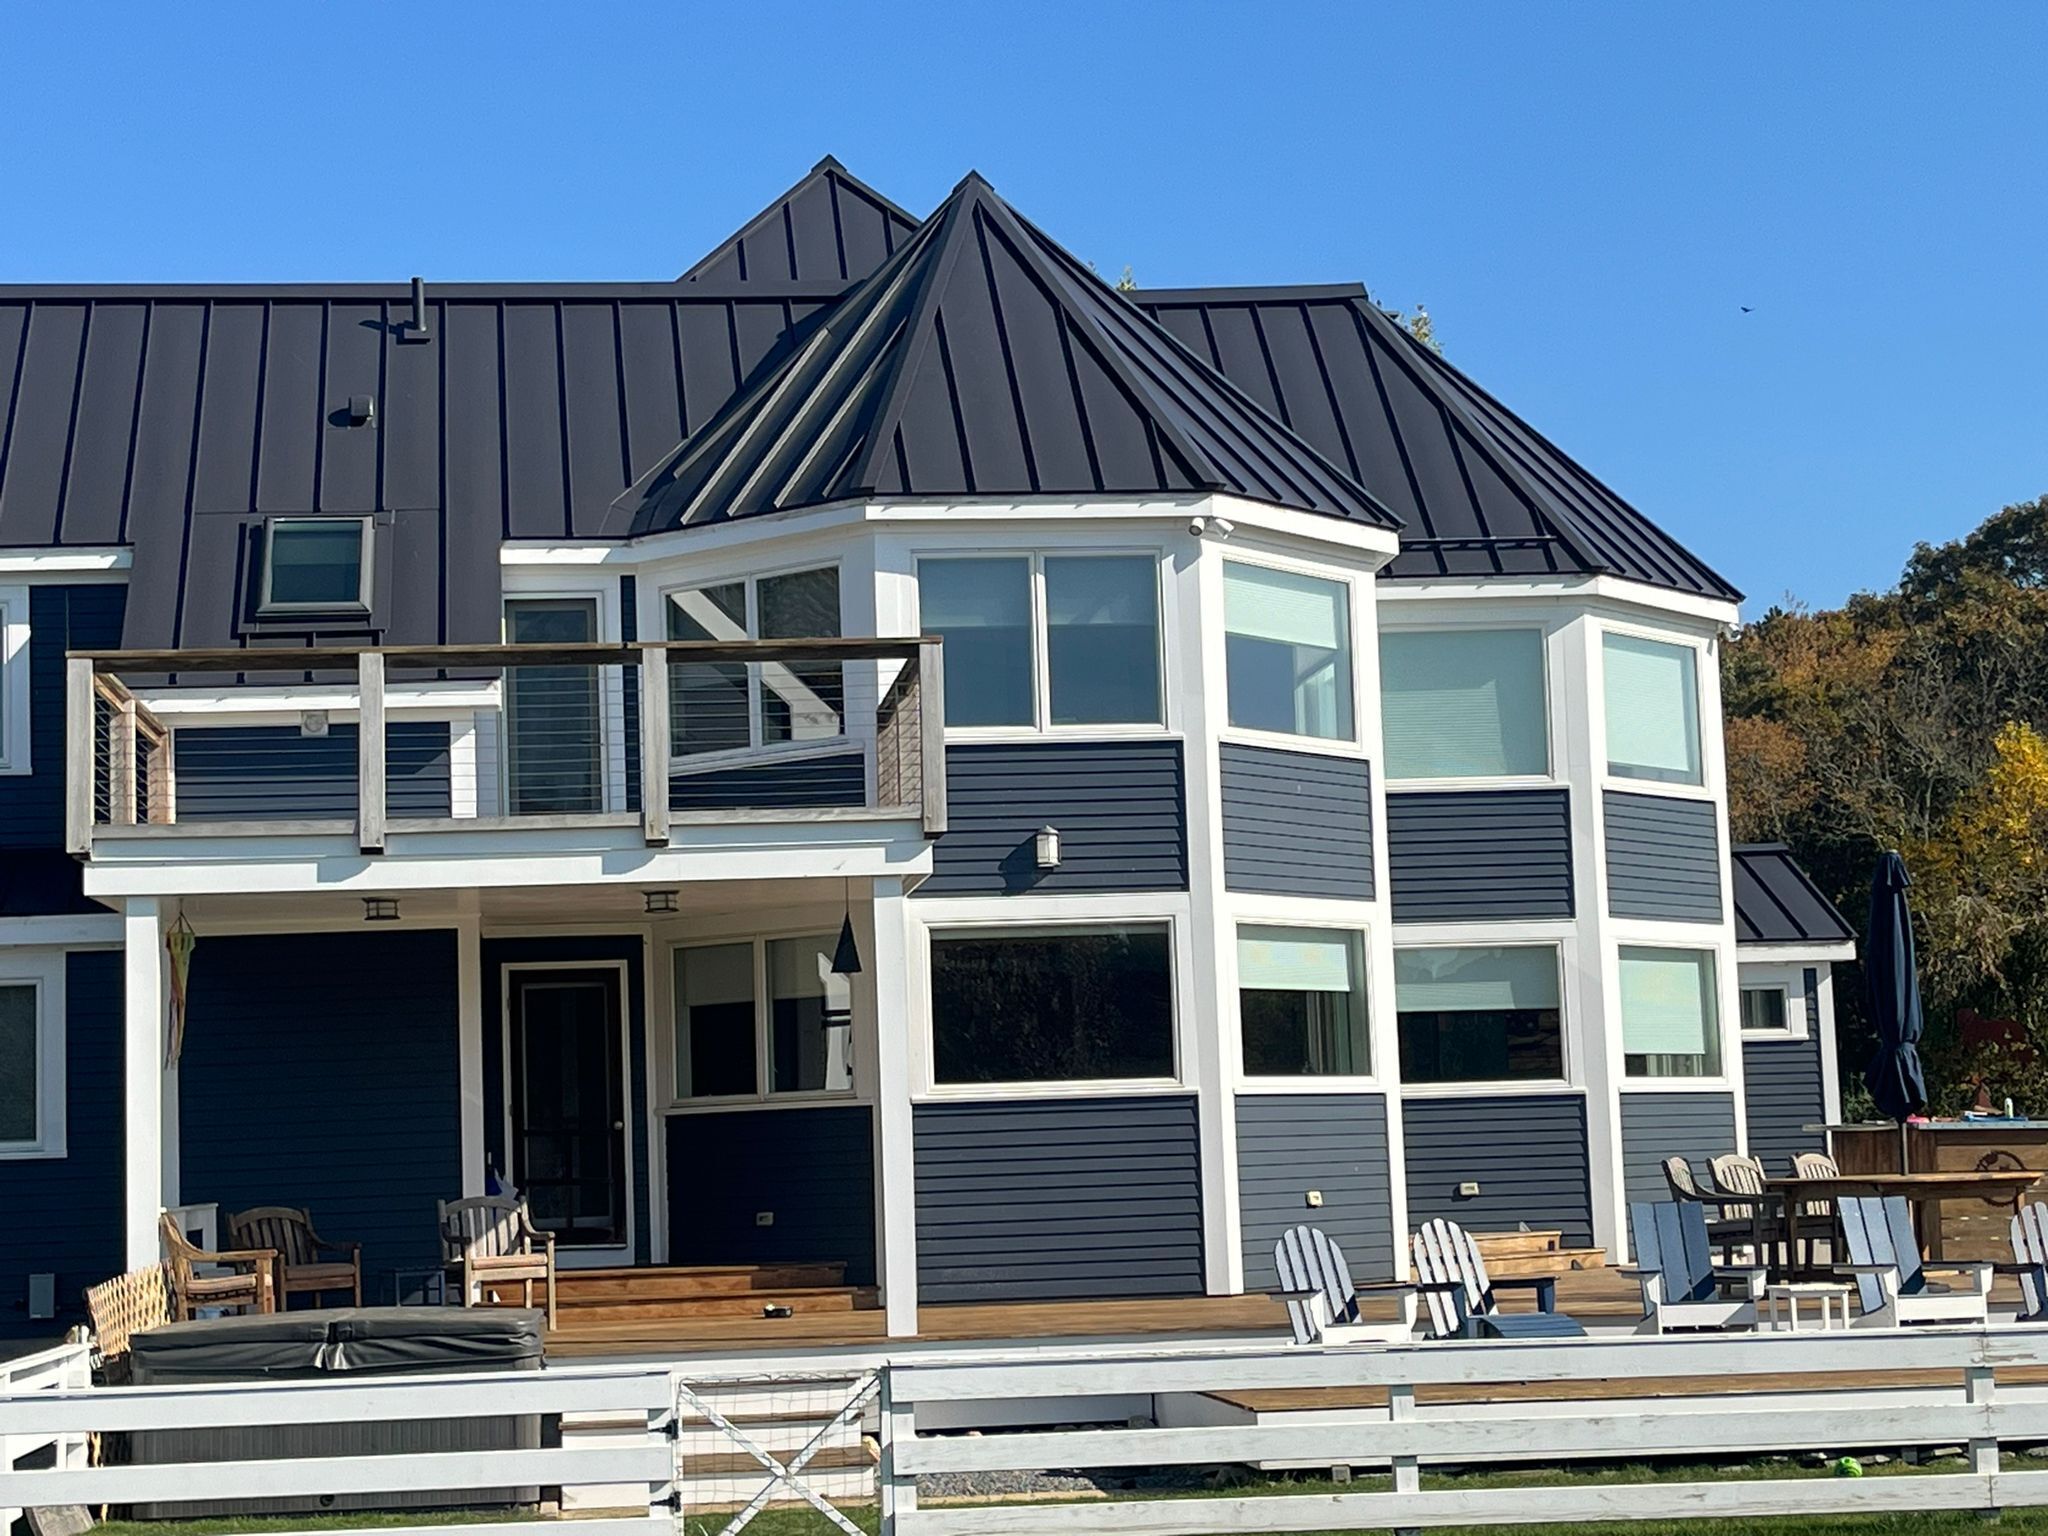
Why Homeowners Trust Classic Metal Roofs for Roofing Solutions
Classic Metal Roofs is a trusted resource for homeowners who want durable, long-lasting roofing solutions. Metal roofing requires specialized knowledge, and proper installation is critical for performance, weather resistance, and long-term value.
Homeowners choose Classic Metal Roofs for expertise in metal roofing systems, quality workmanship, dependable materials, and experience with roof replacement, storm damage, shingle replacement, and long-term roof protection. Whether you are dealing with missing shingles, leaks, aging materials, or concerns after severe weather, working with a qualified roofing team helps ensure the repair is done correctly.
For homeowners who want lasting results without the risks of improper DIY repairs, Classic Metal Roofs can inspect the roof, explain the best options, and recommend a solution based on the home’s condition, budget, and long-term protection needs.
Frequently Asked Questions
How can I tell if the damage is limited to shingles, or if I have a ventilation or condensation issue?
Surface-level shingle damage is usually located in one visible area, such as a dented, cracked, lifted, or missing shingle. Ventilation or condensation problems often show up as persistent attic moisture, mold growth, damp insulation, frosty nail tips in cold weather, musty smells, or uneven indoor temperatures.
If moisture appears across a wide attic area rather than directly below one damaged shingle, the issue may involve poor airflow, insulation, or condensation. In that case, a structural and ventilation evaluation is recommended.
What should I do if I find rusted nails or nail pops while replacing a shingle?
Rusted nails and nail pops can indicate fastener failure, roof movement, moisture exposure, or aging installation materials. Replace corroded fasteners with approved roofing fasteners, reseal affected areas, and check nearby shingles for similar weaknesses.
If nail pops are widespread, there may be a deeper installation or decking problem. A professional roofer can inspect the area and determine whether additional repairs are needed.
How do I replace roof shingles around vents or skylights?
Roof areas around vents, skylights, chimneys, and other penetrations require extra care because they have a higher leak risk. The surrounding shingles must be removed carefully, the flashing must remain properly layered, and all seams must be sealed so water flows away from the opening.
If flashing is bent, rusted, loose, or improperly integrated, replacing only the shingle may not solve the leak. For roof penetrations, professional repair is often the safest option.
How long should I wait before checking the repair for leaks, and what should I look for?
Check the repair after the next heavy rain or controlled water exposure, if safe and appropriate. Inside the home, look for ceiling stains, attic moisture, damp insulation, dripping, musty odors, or new discoloration.
Outside, look for lifted shingle edges, loose fasteners, gaps, or sealant that has pulled away. Recheck the area again after another storm to confirm the repair is holding.
Will a small shingle repair affect my homeowners insurance claim or future coverage?
Minor shingle repairs are generally considered routine maintenance. However, storm-related damage, repeated leaks, neglected repairs, or undocumented work may affect future insurance claims.
Take clear before-and-after photos, keep receipts for materials or professional services, and document the date and cause of the damage. If the repair is related to wind, hail, or major storm damage, contact your insurance provider for guidance before making extensive repairs.
Get Expert Help Replacing Roof Shingles
Replacing roof shingles correctly protects your home from leaks, storm damage, energy loss, and costly structural problems. Minor repairs may be manageable for some homeowners, but improper DIY roof work can create hidden leak paths, damage surrounding shingles, and put your safety at risk.
The key takeaways are simple: inspect roof damage early, use the right tools and safety gear, follow proper replacement steps, consider the true cost of repair, and call a professional when damage involves flashing, decking, ventilation, steep slopes, or widespread shingle loss.
If you notice missing, damaged, rusted, or aging shingles, do not wait for the next storm to make the problem worse. Schedule a roof inspection, request a quote, or contact Classic Metal Roofs to make sure your roof shingle replacement is done safely and correctly.