Guide to Replacing Metal Shingles
October 18, 2024 | By Mike Gonet | Filed under: Blog

Metal shingles are an incredibly durable and long-lasting roofing material. Still, even they may need replacement due to wear, storm damage, or the passage of time. Replacing metal shingles may seem daunting, but the process can be straightforward and efficient with the proper knowledge and approach. This guide created by metal roof installers in Rhode Island will walk you through the steps of replacing metal shingles, from identifying when to replace them to the replacement process itself.
When Should You Replace Metal Shingles?
Before jumping into the replacement process, it’s essential to understand when your metal shingles need to be replaced. Unlike other roofing materials, metal shingles can last for decades, often 40-70 years, but there are still factors that may lead to earlier replacement. Here are some signs that it’s time to replace your metal shingles:
- Visible Damage: If your shingles are dented, cracked, or showing signs of rust or corrosion, replacement may be necessary, especially if the damage is extensive.
- Leaks or Water Damage: If you notice water stains on your ceiling or walls, it may indicate that your roof’s integrity has been compromised. This could be due to damaged or improperly installed shingles.
- Age of the Roof: While metal shingles are known for their longevity if your roof is reaching the end of its life expectancy, it might be time to start planning for a replacement to prevent potential issues in the future.
- Loose or Missing Shingles: Strong winds or extreme weather can sometimes cause metal shingles to loose. If this happens, replacing them promptly is crucial to avoid further damage.
Tools and Materials Needed for Replacing Metal Shingles
Before beginning the replacement process, gather the necessary tools and materials. Here’s what you’ll need:
– Replacement metal shingles (ensure they match your existing roof in size, style, and color)
– Roofing nails or screws
– Pry bar or roofing shovel
– Hammer or drill (depending on fastener type)
– Sealant or metal roofing adhesive
– Safety gear (gloves, non-slip shoes, safety harness if working on a steep roof)
– Ladder
Step-by-Step Guide to Replacing Metal Shingles
1. Assess the Damage
The first step in replacing metal shingles is to thoroughly assess the roof to determine the extent of the damage. Identify which shingles need to be replaced and mark them to ensure you only remove the necessary sections. Be careful not to disturb any undamaged shingles during this assessment.
2. Remove the Damaged Shingles
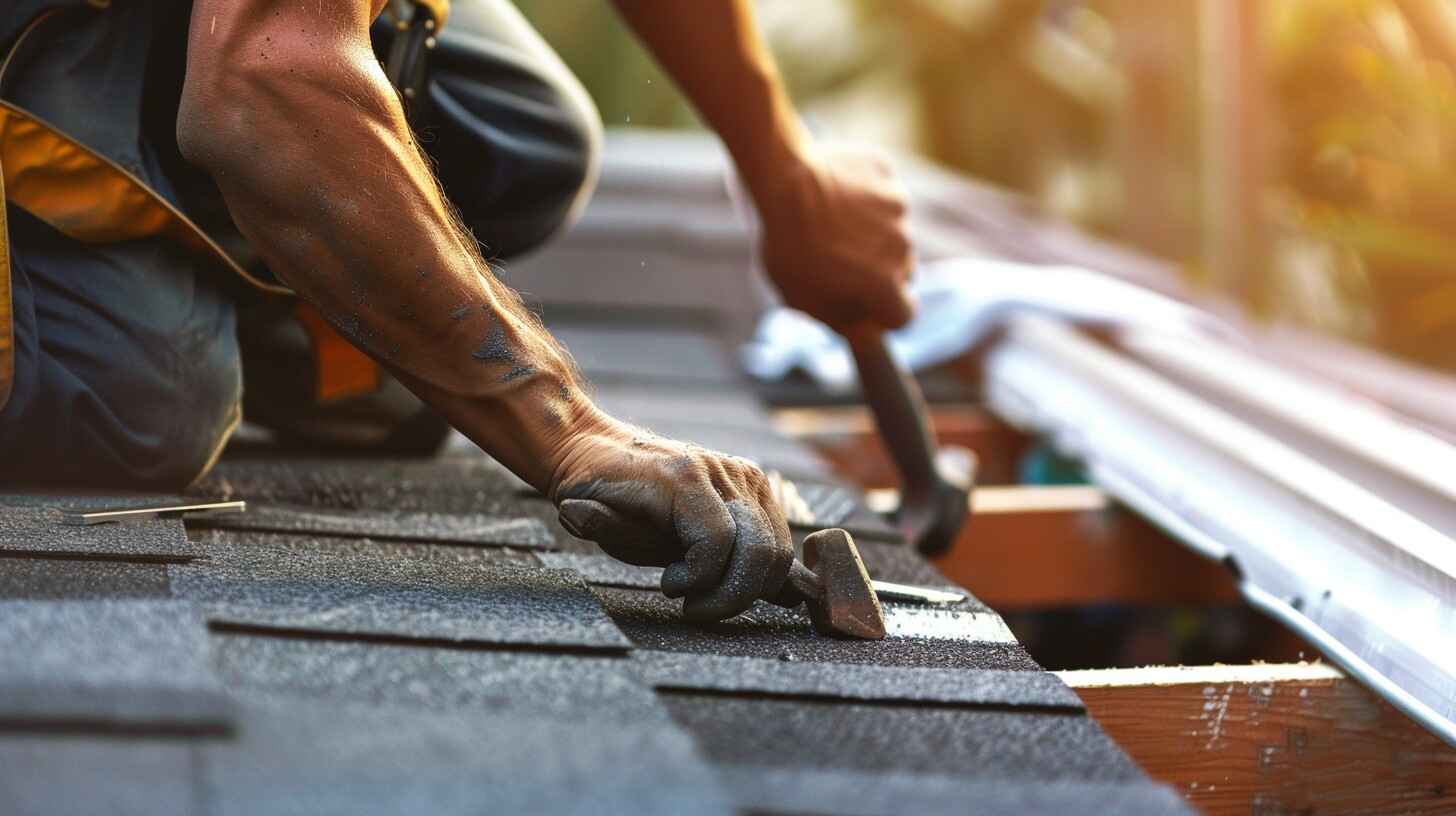
Once you’ve identified the damaged shingles, you can begin removing them. Use a pry bar or roofing shovel to lift the edges of the damaged shingles carefully. If they are secured with nails, gently pull them out to avoid damaging surrounding shingles. If screws are used, use a drill to remove them.
Be cautious not to damage the roof deck or underlayment during this process. Suppose you notice any underlying damage, such as rotted wood or compromised insulation. In that case, these issues should be addressed before proceeding with the replacement.
3. Prepare the Roof for New Shingles
After removing the damaged shingles, clean the area where the new shingles will be installed. Ensure the roof deck is free of debris, old adhesive, or leftover nails. Suppose the underlayment or roof decking has been damaged. In that case, it may need to be repaired or replaced before installing new shingles.
Next, check the alignment of surrounding shingles to ensure that the new ones will fit seamlessly. This will help ensure that the new shingles provide the same protection and visual consistency as the existing ones.
4. Install the New Metal Shingles
Once the area is prepared, install the new metal shingles. Align the replacement shingle with the surrounding shingles to ensure a proper fit. Secure it in place using roofing nails or screws, depending on the type of fasteners used on the rest of the roof. Fasten the shingle at the correct points to avoid water intrusion or wind damage.
Apply roofing sealant or adhesive to the seams to ensure a watertight seal. Metal shingles often have interlocking edges, so make sure they fit tightly together and follow the manufacturer’s guidelines for installation.
5. Inspect Your Work
After installing the replacement shingles, inspect the roof to ensure everything is secure and properly aligned. Check that all fasteners are tight and that the new shingles are properly sealed to prevent water infiltration. If you’ve worked on multiple areas, ensure the entire roof looks consistent and that the repairs blend seamlessly with the existing shingles.
6. Perform Regular Maintenance
To extend the life of your metal roof, it’s important to perform regular maintenance. Check your roof periodically for signs of damage or wear, especially after severe weather. Clean debris such as leaves and branches from your roof to prevent moisture build-up, and ensure that gutters and downspouts are functioning properly.
DIY vs. Hiring a Professional
Replacing a few damaged metal shingles is a task that many homeowners can handle themselves, especially if the area is small and the roof is not too steep. However, hiring a professional roofing contractor is a safer option if the damage is extensive, if your roof is steep, or if you’re uncomfortable with heights.
A roofing professional will have the experience and tools to complete the job quickly and effectively. They can also inspect the entire roof for hidden damage that may not be immediately visible to the untrained eye.
Conclusion
Replacing metal shingles may seem daunting, but it can be done efficiently with the right tools and knowledge. By following these steps and performing regular maintenance, you can ensure your metal roof remains a durable and long-lasting protective shield for your home. Whether you decide to tackle the job yourself or hire a professional, addressing roof damage promptly will help extend the life of your roof and prevent future issues.
Other related posts:
- How Long Do Metal Roof Shingles Last?
- How Metal Shingles Improve Energy Efficiency in Your Home


