Getting the right number of roofing nails per square is something every homeowner and contractor needs to understand. The amount depends on several factors, like your roofing material, how steep your roof is, and what kind of weather your area gets. You’ll need to follow the manufacturer’s instructions for nail type, spacing, and how deep to drive them. This guide will walk you through calculating nail quantities, avoiding common mistakes, and completing the job correctly. An experienced roofing contractor can help you get the best results for those with complex installations or damaged roofing systems.
Importance of Proper Nailing
Getting your nailing technique right makes the difference between a roof that lasts decades and one that fails early. Each nail holds your roofing materials in place against wind, rain, and snow. Use the right nails for your specific roofing material—what works for asphalt shingles won’t work for metal roofing. Drive nails straight down at the right depth to avoid leaks and structural problems later. Space your nails according to the pattern recommended for your materials to spread the load evenly across your roof.
Factors Affecting Nail Quantity
Several things determine how many nails you’ll need per square of roofing. Your roofing material is the biggest factor—metal panels need different spacing than asphalt shingles. Roof pitch matters too; steeper roofs need more nails to keep materials secure. Local weather plays a role as well. Areas with high winds or frequent storms require extra nails for added strength. Always check your local building codes and manufacturer guidelines to meet safety standards and keep your warranty valid.
General Guidelines for Nailing
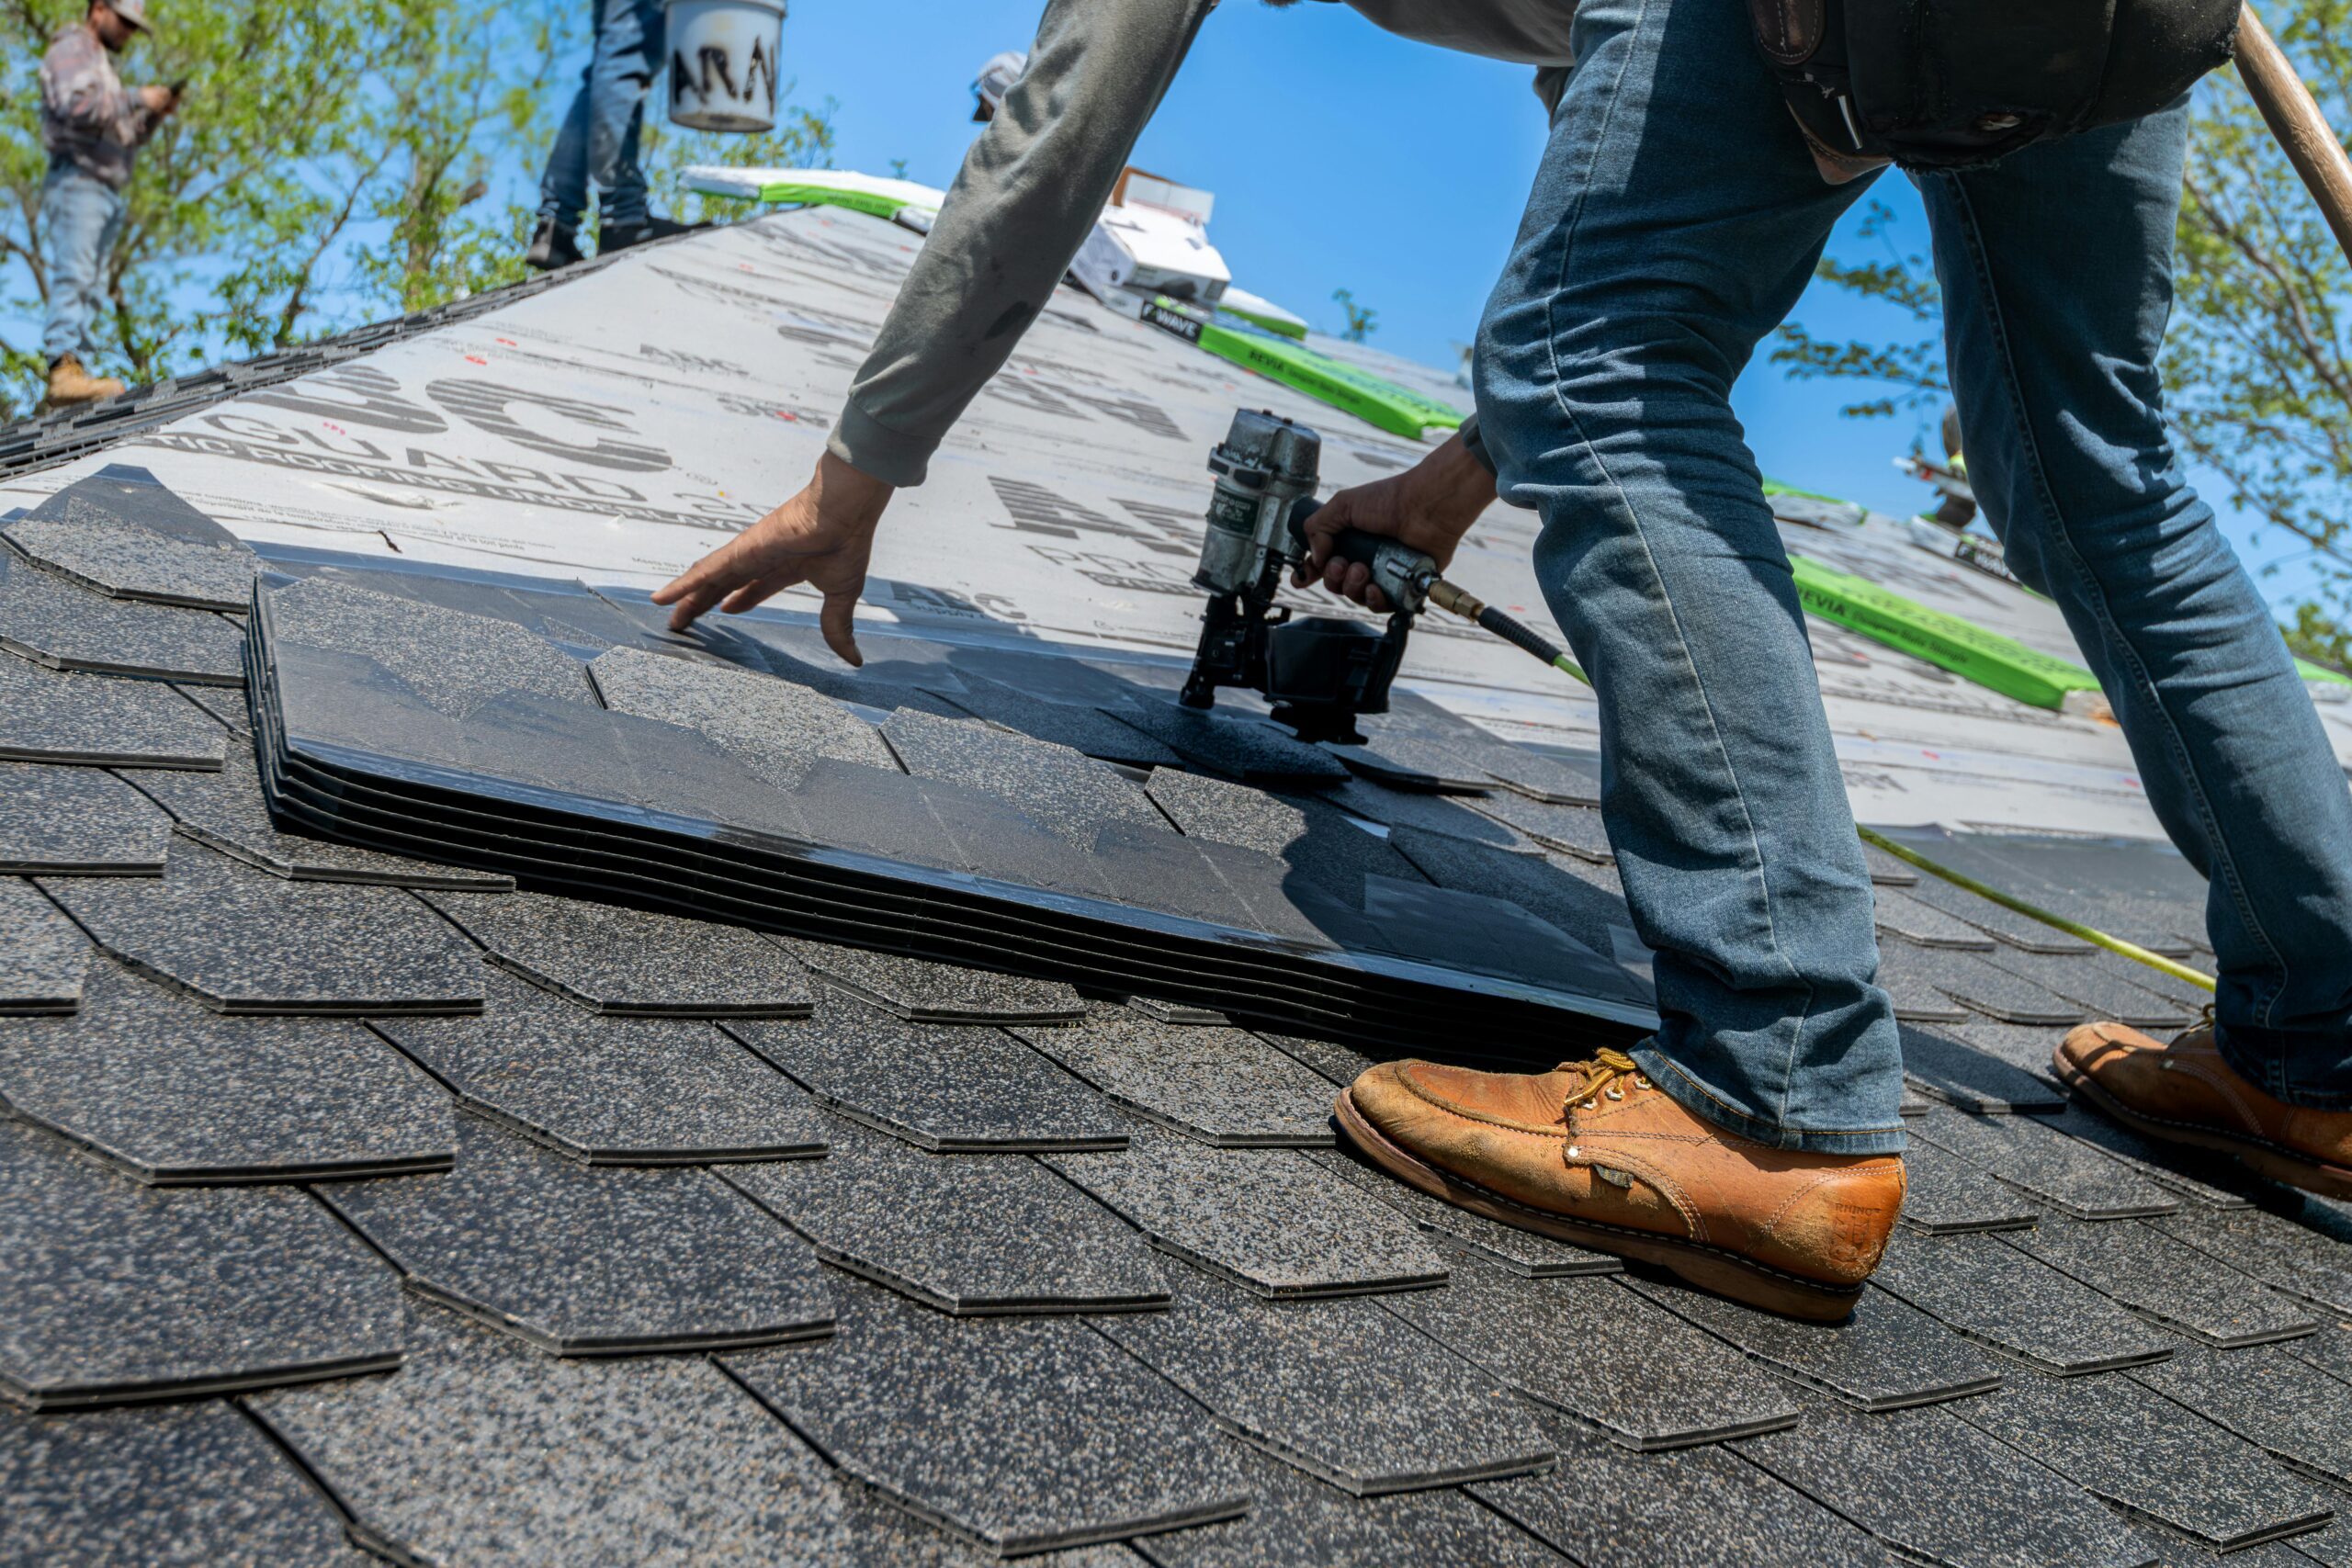
Follow these basic rules for safe, effective nailing. Always use the exact nail type and length specified by your roofing material manufacturer. Drive nails straight down through the material and into the roof deck, but don’t overdrive them. Place nails at the recommended spacing along edges and throughout the field area. This prevents wind uplift and keeps your roof materials flat and secure. Taking time to get these basics right will save you headaches down the road.
Nail Quantity Calculations
Here’s how to figure out exactly how many nails you need. Measure your roofing material to find the total square footage. Check the manufacturer’s instructions for recommended nail spacing, usually given in inches. Divide the length of each row by the nail spacing to find nails per row. Multiply by the number of rows to get your total per square. Double-check your math – using too few nails can lead to serious problems, while too many wastes money and time.
Common Mistakes to Avoid
Don’t skip the manufacturer’s guidelines – they know their products best. Many people forget that the roof slope affects nail requirements. Steeper roofs face different wind and gravity forces than flat ones. Always inspect your roof deck before starting. Damaged or rotten decking won’t hold nails properly, no matter how many you use. Take time to plan your nail pattern before you start hammering. Rushing through this step leads to uneven spacing and weak spots.
Final Tips for Roofing Success
Start every job by checking your roof deck for damage that needs fixing first. Get all your materials and tools ready before you begin – this keeps the work moving smoothly. Stick to the manufacturer’s nail count recommendations for proper shingle attachment. Seal any exposed nail heads with roofing cement to stop water from getting in. When you’re done, walk the roof and check for loose shingles or missed spots. Taking these extra steps helps your roof perform well for years to come.
Other Related Posts: