How to Nail Roofing Shingles
February 12, 2025 | By Mike Gonet | Filed under: Blog

When installing shingles, precision and preparation are key to achieving a durable and weather-resistant roof. Whether you’re a seasoned professional or a homeowner tackling a DIY project, following best practices ensures long-lasting results. Before getting started, explore affordable metal roofing services as an alternative for a sturdy and cost-effective roofing solution. This guide will walk you through the essential steps to properly nail roofing shingles while maintaining structural integrity and aesthetic appeal.
Roof Preparation
Before installing shingles, the roof surface must be clear of debris and obstructions. Inspect the area for loose materials, old nails, or damaged sections that could interfere with the process. Sweep or use a blower to remove dirt, ensuring a clean, even surface. Check for signs of water damage or rot, as these issues need to be addressed before proceeding. Additionally, inspect vents, chimneys, and skylights to confirm they are properly sealed and in good condition. A well-prepared surface provides a solid foundation for a durable and leak-resistant roof.
Choosing the Right Nails
Selecting the correct nails is essential for a secure and long-lasting roofing installation. Opt for galvanized steel or aluminum nails, as they resist rust and provide strong support. These nails should feature a large flat head to firmly hold shingles in place and prevent pull-through. Nail length also plays a crucial role—each nail should penetrate the shingle, underlayment, and roof deck by at least 3/4 of an inch. Choosing high-quality nails will enhance the overall stability of your roofing system and help withstand harsh weather conditions.
Proper Nailing Techniques
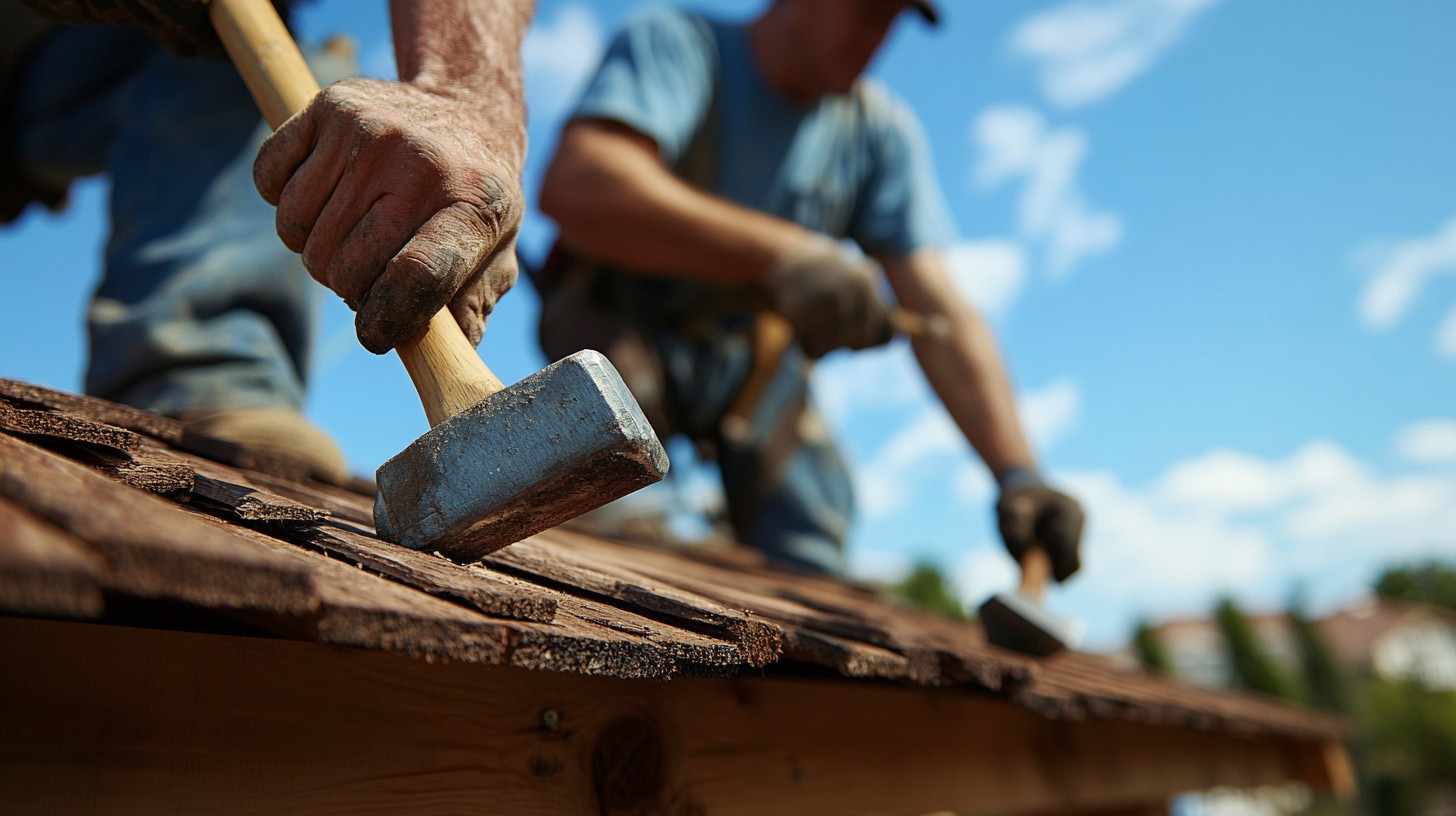
Ensuring proper nailing techniques is vital to the durability and longevity of your roof. Each nail should be driven straight into the roof deck without being overdriven or underdriven. Whether using a hammer or nail gun, apply even pressure to prevent cracks or shingle damage. Begin by positioning and securing the first shingle, checking alignment before placing nails. Overlapping shingles properly and using the designated nail line ensures a tight, secure fit. Follow the manufacturer’s recommendations for nail placement and spacing to preserve the shingle warranty and achieve a polished, professional finish.
Shingle Layout and Placement
A well-planned shingle layout improves both the structural integrity and visual appeal of the roof. Keep these essential factors in mind when positioning shingles:
- Stagger the Joints: Prevent water infiltration by offsetting shingle joints from row to row.
- Use Starter Shingles: Install starter shingles at the eaves to create a secure foundation for the subsequent layers.
- Follow Manufacturer Guidelines: Adhering to the recommended shingle placement methods ensures proper coverage and durability.
- Account for Wind Exposure: Align shingles strategically to withstand prevailing wind patterns and enhance resistance.
- Maintain Consistent Overhangs: A uniform overhang at the eaves and gables aids in effective water shedding and contributes to a polished appearance.
Ensuring a Secure Finish
Attention to detail is critical when finalizing a roofing project. Proper alignment and shingle overlap must be maintained according to the manufacturer’s guidelines. Utilize the designated nailing zone to prevent moisture penetration and enhance security. Drive nails at the recommended angle—typically around 45 degrees—to secure the shingle without causing unnecessary damage. Avoid overdriving nails, which can weaken the material, and ensure under-driven nails are corrected to prevent wind uplift. Using the appropriate nail type and length will further reinforce the installation. Conduct periodic inspections throughout the process to identify and rectify any errors early, ensuring a long-lasting, weatherproof roof.
Other related posts:
Related Posts:
Get A Free Roofing Consultation
Tags: metal roof, metal roofing, metal roofs


