Many metal roof installers suggest checking your roof’s readiness before adding solar panels to avoid costly problems later. This guide helps homeowners understand what to look for when preparing their roof for solar installation. We’ll cover how to inspect your roof’s condition, determine the optimal position for panels, identify shading issues, assess structural strength, and plan any necessary repairs. These simple steps help ensure your solar project goes smoothly and lasts for years.
Roof Condition Assessment
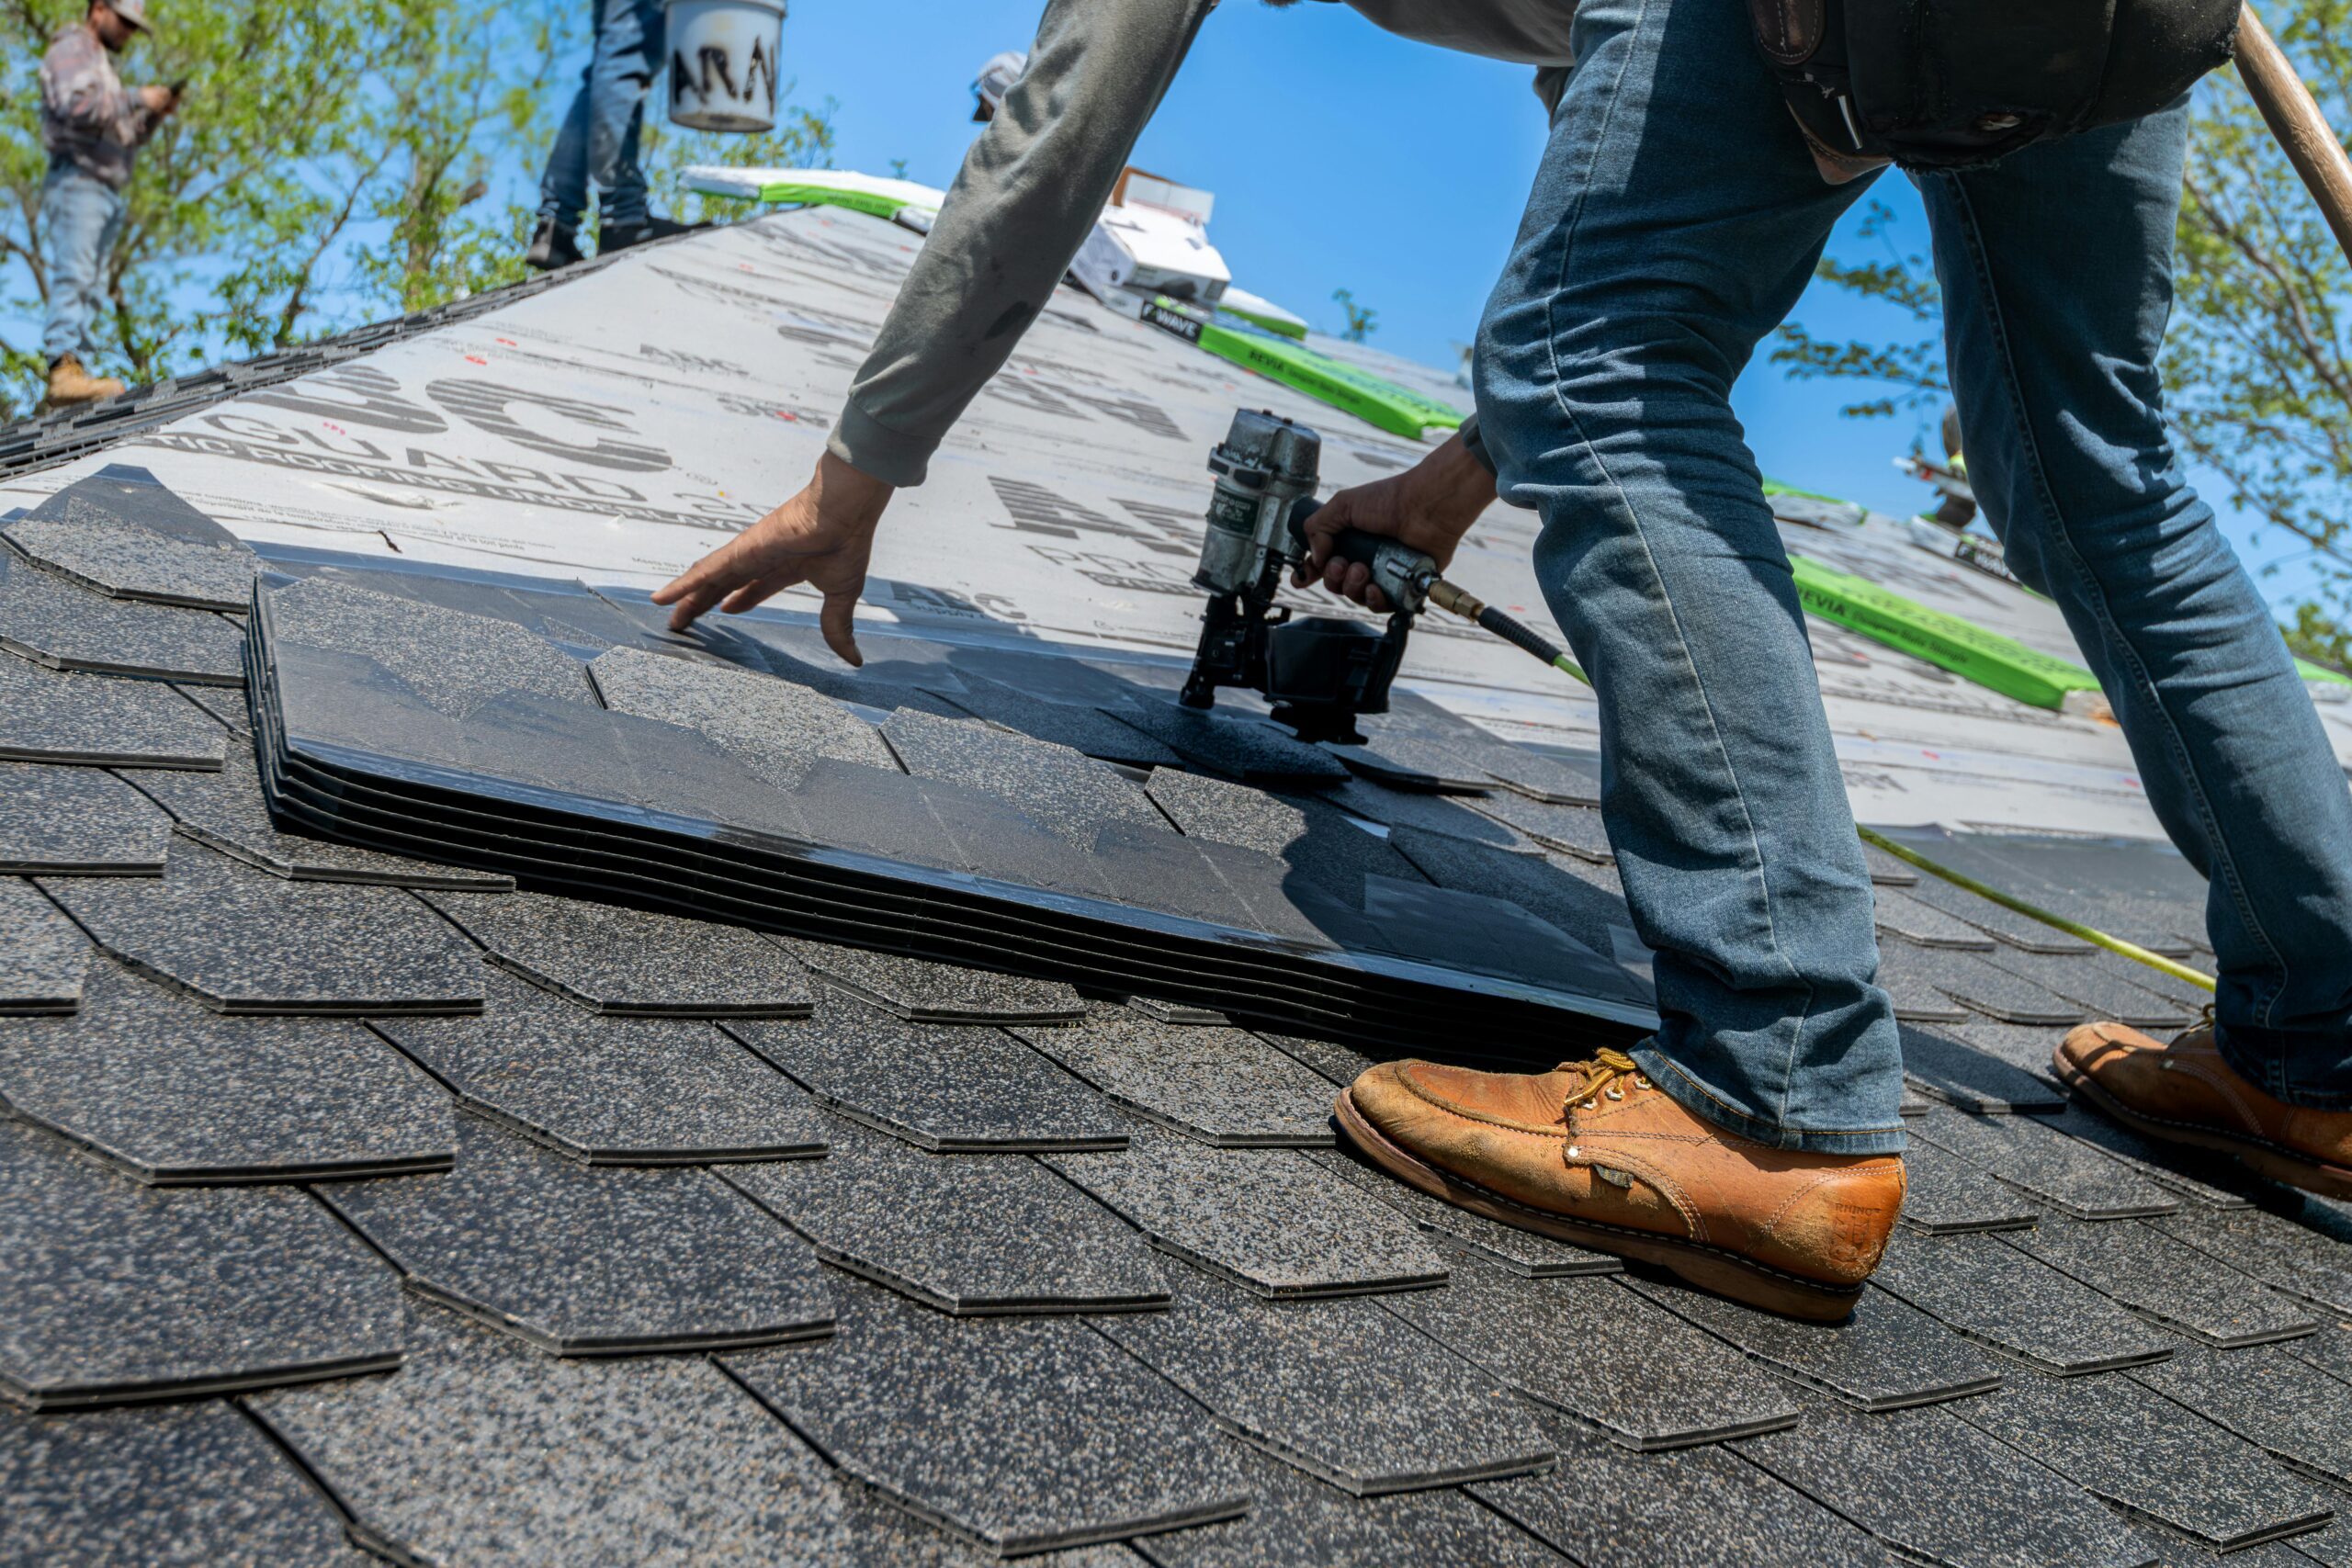
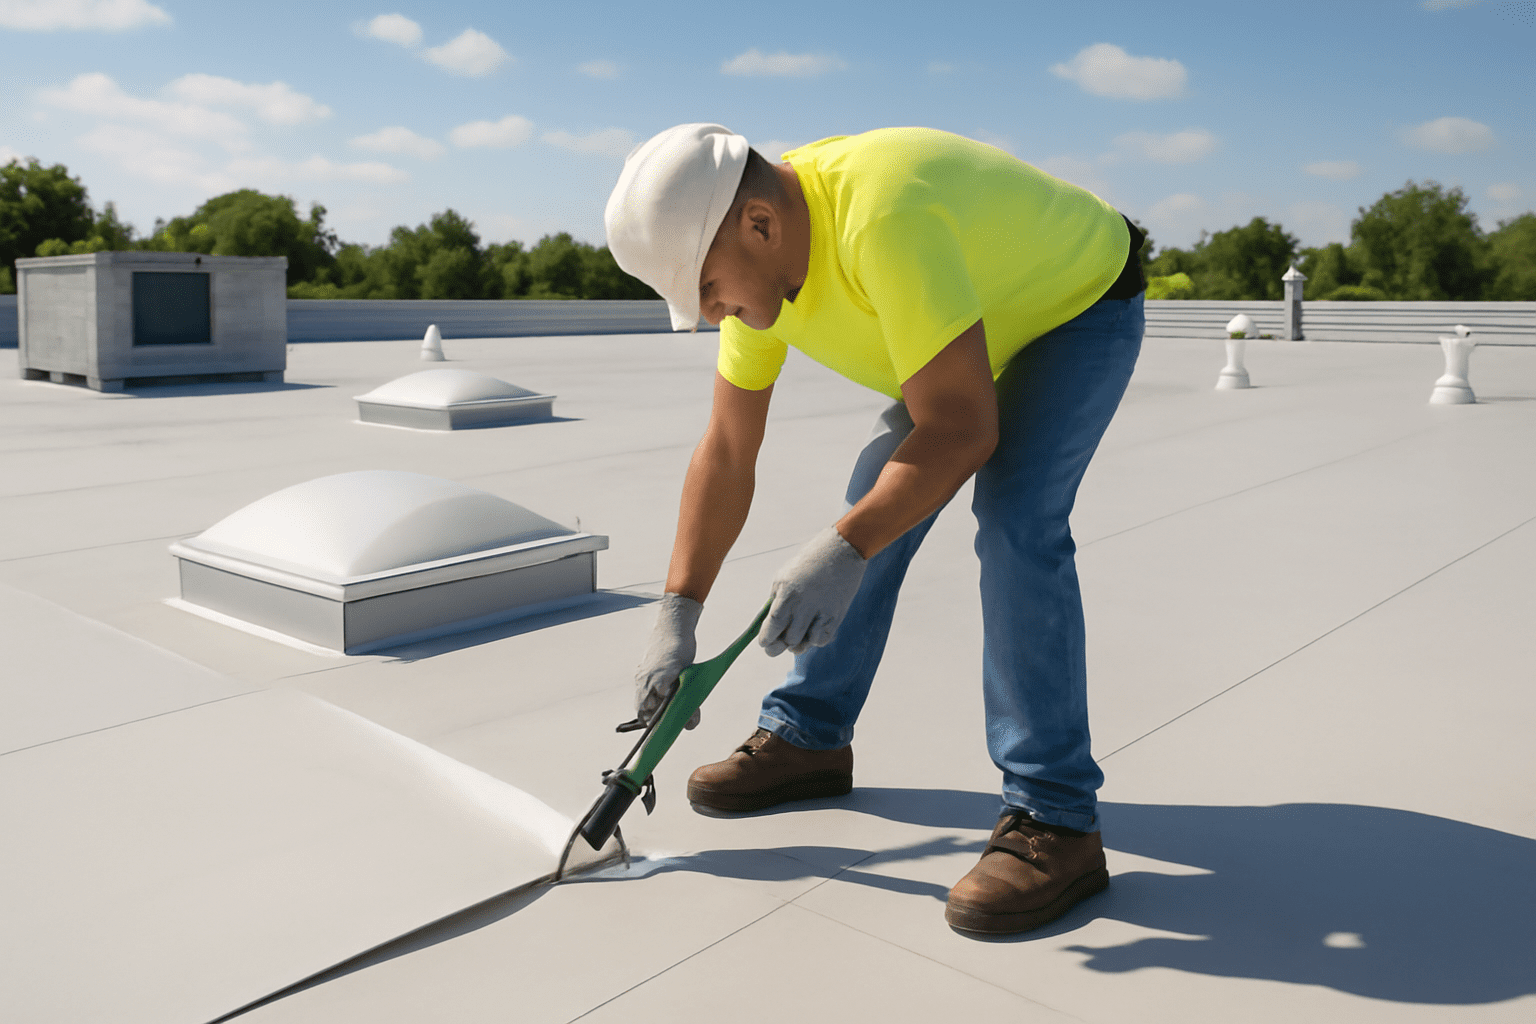
Start by inspecting your roof’s overall condition and strength to determine if it can support solar panels. Look for any damage, such as cracks, leaks, or sagging spots, that could cause problems during installation or affect the panels’ performance. Check the roof’s age, material, and maintenance history to determine if it can support the panel weight and withstand weather conditions. A careful inspection now helps you identify any necessary repairs before installing panels, ensuring your system is safe and functioning properly.
Roof Orientation Evaluation
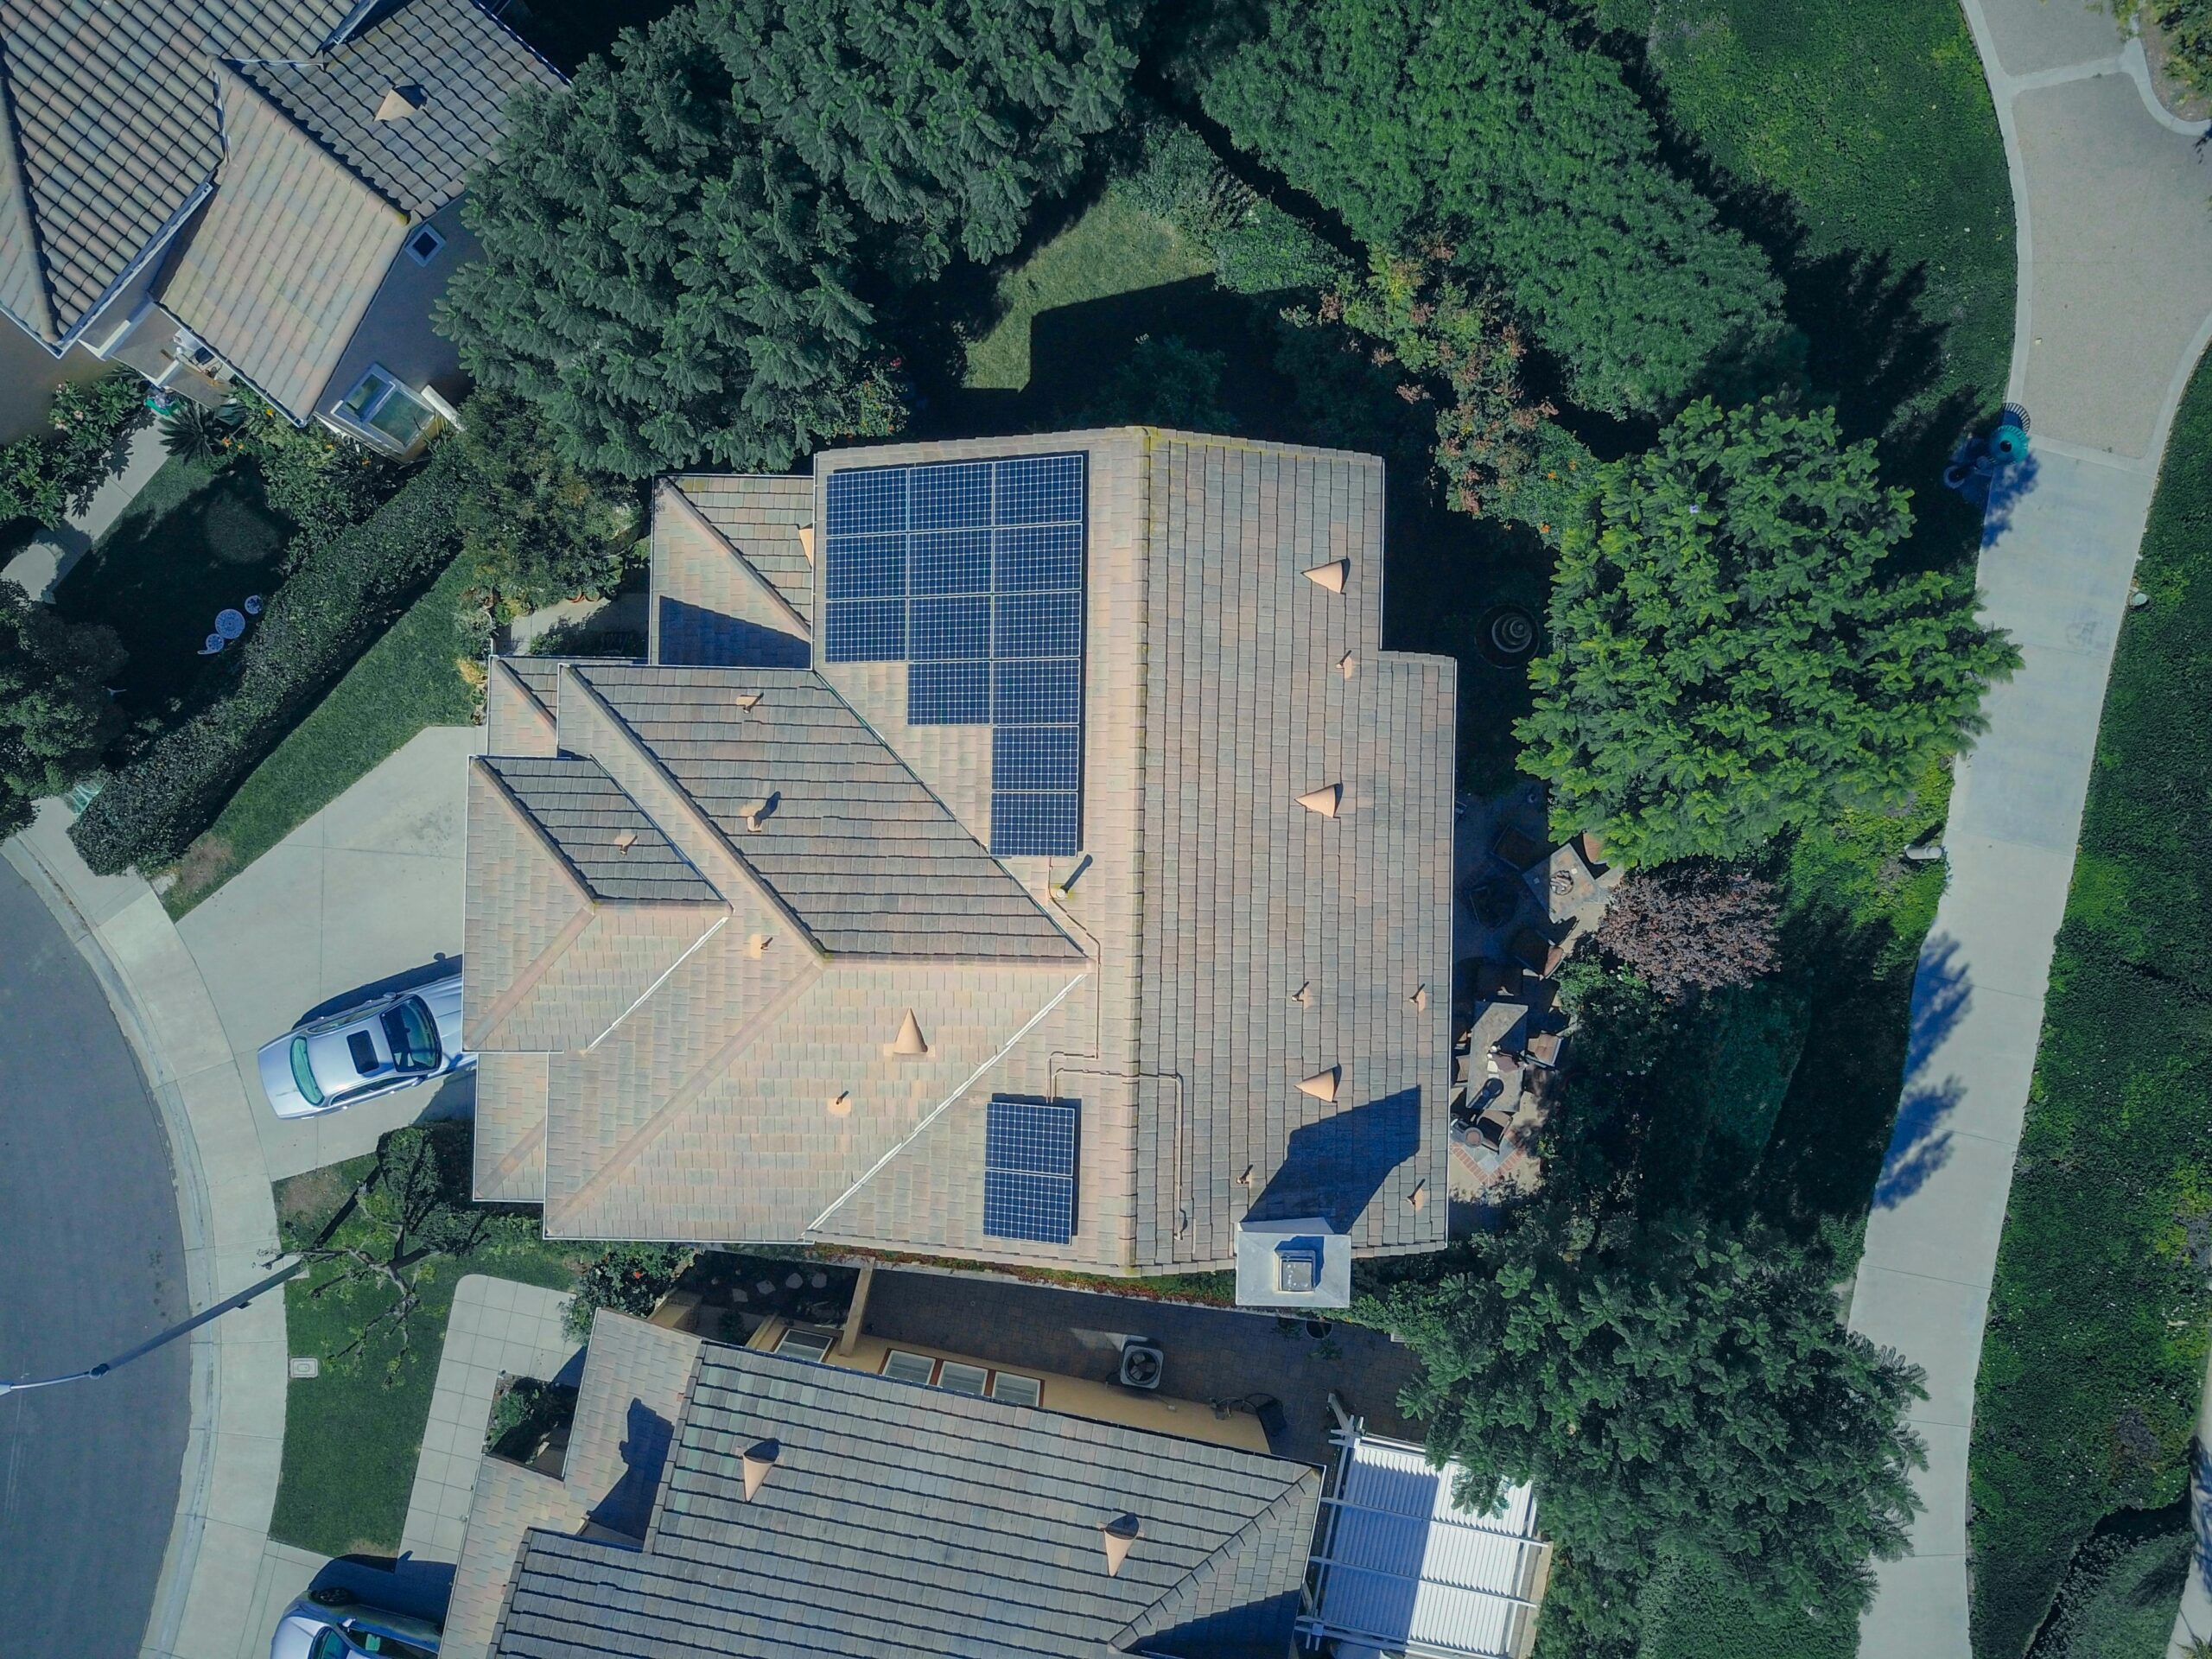
The direction your roof faces affects how much energy your solar panels can produce. South-facing roofs are ideal because they receive the most sunlight throughout the day. East- and west-facing roofs can also work well, though they may generate slightly less energy. North-facing roofs are usually not good choices because they receive little direct sunlight. Use a compass to check which direction your roof faces compared to true south. Additionally, consider the slope of your roof; a pitch between 15 and 40 degrees works best for solar panels. Knowing your roof’s orientation helps you maximize the energy output of your solar system.
Shading Analysis
Check for anything that might block sunlight from reaching your solar panels throughout the day. Shading can hurt panel performance and reduce energy production. Look for these common shading sources:
- Tree Coverage: Check nearby trees that might cast shadows on your roof during the day
- Adjacent Buildings: Look at neighboring structures that could block sunlight at different times
- Chimneys and Vents: Find roof features that may cause shadows on the panels
- Antennas and Satellite Dishes: Check for equipment that could create shadows
- Future Shading: Think about tree growth or new buildings that might cause shading later
A thorough shading check helps you maximize the performance of your solar panels.
Structural Integrity Check
Your roof needs to be strong enough to hold solar panels safely. Inspect the roof’s structure before installation by examining the roofing materials and identifying any damage, such as rot, mold, or water issues. Ensure the roof can withstand the additional weight of the panels. Inspect the roof’s slope, pitch, and overall condition to determine if it can safely support the solar system. Have a roofing professional inspect the roof’s strength to ensure it provides a secure base for your solar panels.
Maintenance and Repairs Needed
Address any roof issues before installing solar panels to prevent future problems. Your roof should be in good shape to support the panels properly. Check for these common problems:
- Look for water damage signs like leaks or water stains
- Find any missing, cracked, or damaged roof shingles
- Check the roof flashing condition to stop water from getting in
- Clean gutters and downspouts of debris that could cause water backup
- Make sure the roof structure is strong enough to hold the extra panel weight
Other Related Posts: