A failing roof rarely announces itself politely. It shows up as a water stain spreading across a ceiling after a storm, a pile of granules at the bottom of a downspout, or a shingle lying in the yard the morning after high winds. As shingles age and repair bills climb, many homeowners start asking whether they can install a new roof themselves and whether the savings are worth the risk. This guide walks through how to install roof shingles the right way, from gathering tools to laying the final ridge cap, so you understand exactly what a quality installation involves and where do-it-yourself work ends and a licensed contractor should begin.
Tools and Materials Needed to Install Roof Shingles
Preparation is where good roofing projects are won or lost. Before a single shingle goes down, you need the right tools, the proper safety gear, and a complete set of quality materials staged and ready. Skipping this step leads to delays, weather exposure on an open deck, and the kind of shortcuts that cause leaks years later. Treat the checklist below as your starting point for an efficient, weatherproof installation.
Essential Roofing Tools and Safety Equipment
A shingle installation calls for a focused set of tools: a roofing nailer or a roofing hammer, a sturdy extension ladder, a chalk line for keeping courses straight, a utility knife with hook blades for cutting shingles, a flat pry bar for tear-off, and a tape measure for accurate layout. Just as important is the gear that keeps you safe on a sloped surface. A fall protection system with a harness, rope, and a roof anchor is not optional on most roofs. Add gloves, non-slip footwear, eye protection, and the work practices recommended by OSHA. Falls are the leading cause of serious roofing injuries, so plan your tie-off points before you climb, not after.
Roofing Materials Checklist
Stage your materials before the first tear-off so nothing stalls the job once the deck is exposed. A complete list includes shingles, underlayment, starter strips, drip edge, flashing, ridge caps, roofing nails, and an ice and water shield barrier. Each piece has a job to do. Underlayment is a secondary moisture barrier beneath the shingles, starter strips lock down the first course and resist wind uplift, drip edge channels water away from the fascia, flashing seals the vulnerable joints around penetrations, and ice and water shield protects valleys and eaves where ice dams form. Choosing high-quality products in each category directly improves roof lifespan, weather resistance, and long-term performance in your local climate.
How to Install Roof Shingles Step by Step
Roof Deck Preparation
Everything you install is only as reliable as the surface beneath it. Proper deck preparation means removing the old roofing, inspecting the decking for soft spots, wood rot, or structural damage, and creating a clean, sound base. Replace any compromised sheathing before moving forward. A leak-resistant roofing system begins with a deck that is dry, flat, and structurally solid.
1. Lay Tarps on the Ground to Catch Debris
Before tear-off begins, spread tarps around the base of the house to protect landscaping, siding, windows, and walkways from falling shingles and nails. A little setup here saves hours of cleanup later and keeps the job site safer for everyone on the ground.
2. Remove Metal Flashing if Needed
Inspect the flashing around chimneys, valleys, vents, and skylights. Rusted, bent, or corroded flashing should be replaced rather than reused, since damaged flashing is one of the most common sources of roof leaks. Flashing in good condition can sometimes stay, but when in doubt, replace it while the area is open and accessible.
3. Sweep the Roof Deck Clean
Sweep away leftover nails, dust, old adhesive, and debris so the deck is smooth and clean. Underlayment and shingles only adhere correctly to a clean surface, and a single forgotten nail under the new roofing can telegraph through as a bump or puncture the membrane.
Install Deck Protection & Starter Shingles
Deck protection and starter shingles form the waterproof foundation of the roof. Installed correctly, they defend against wind uplift, water infiltration, and ice damage long before the field shingles ever come into play.
1. Drip Edge at the Eves
Install drip edge along the eaves first. This metal trim directs runoff away from the fascia and roof decking so water cannot wick back underneath the edge. Many local building codes require drip edge, and proper placement at the eaves sets up the rest of the waterproofing layers correctly.
2. Secure the Deck Protection to the Roof
Roll out underlayment or synthetic deck protection across the deck as a moisture barrier beneath the shingles. Follow the manufacturer’s overlap requirements and fastening pattern, and add an ice and water shield in valleys, along eaves, and around penetrations where harsh-climate ice dams are a risk.
3. Install New Flashing and Starter Shingles at the Edges
Set new flashing and lay starter shingles along the eaves and rakes. Starter shingles and edge flashing reinforce the most exposed parts of the roof against wind-driven rain and uplift. Align them carefully and seal them well to create a watertight perimeter that the rest of the field shingles will build on.
4. Nail the Drip Edge in Place
Fasten the drip edge with proper nail spacing so the metal lies flat without warping or buckling. Incorrect or overdriven fasteners can leave gaps that invite water intrusion and lead to premature deterioration at the roof edge.
Install Your Roof Shingles
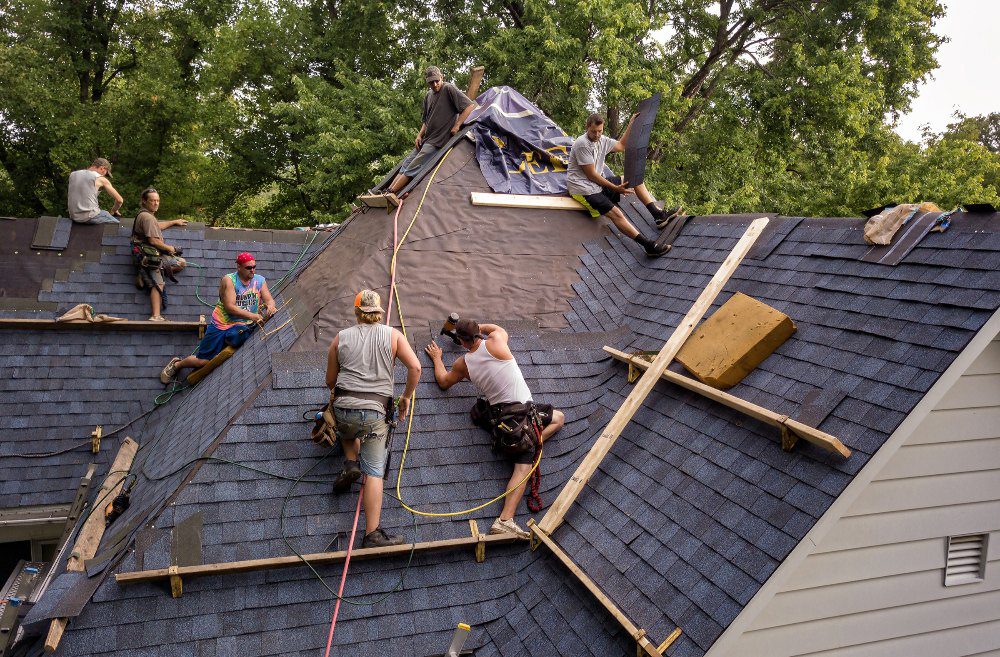
With the foundation in place, you can begin laying the field shingles. The goals throughout are straight courses, correct overlap, and proper nailing. Get these right and the roof sheds water for decades; get them wrong and leaks follow.
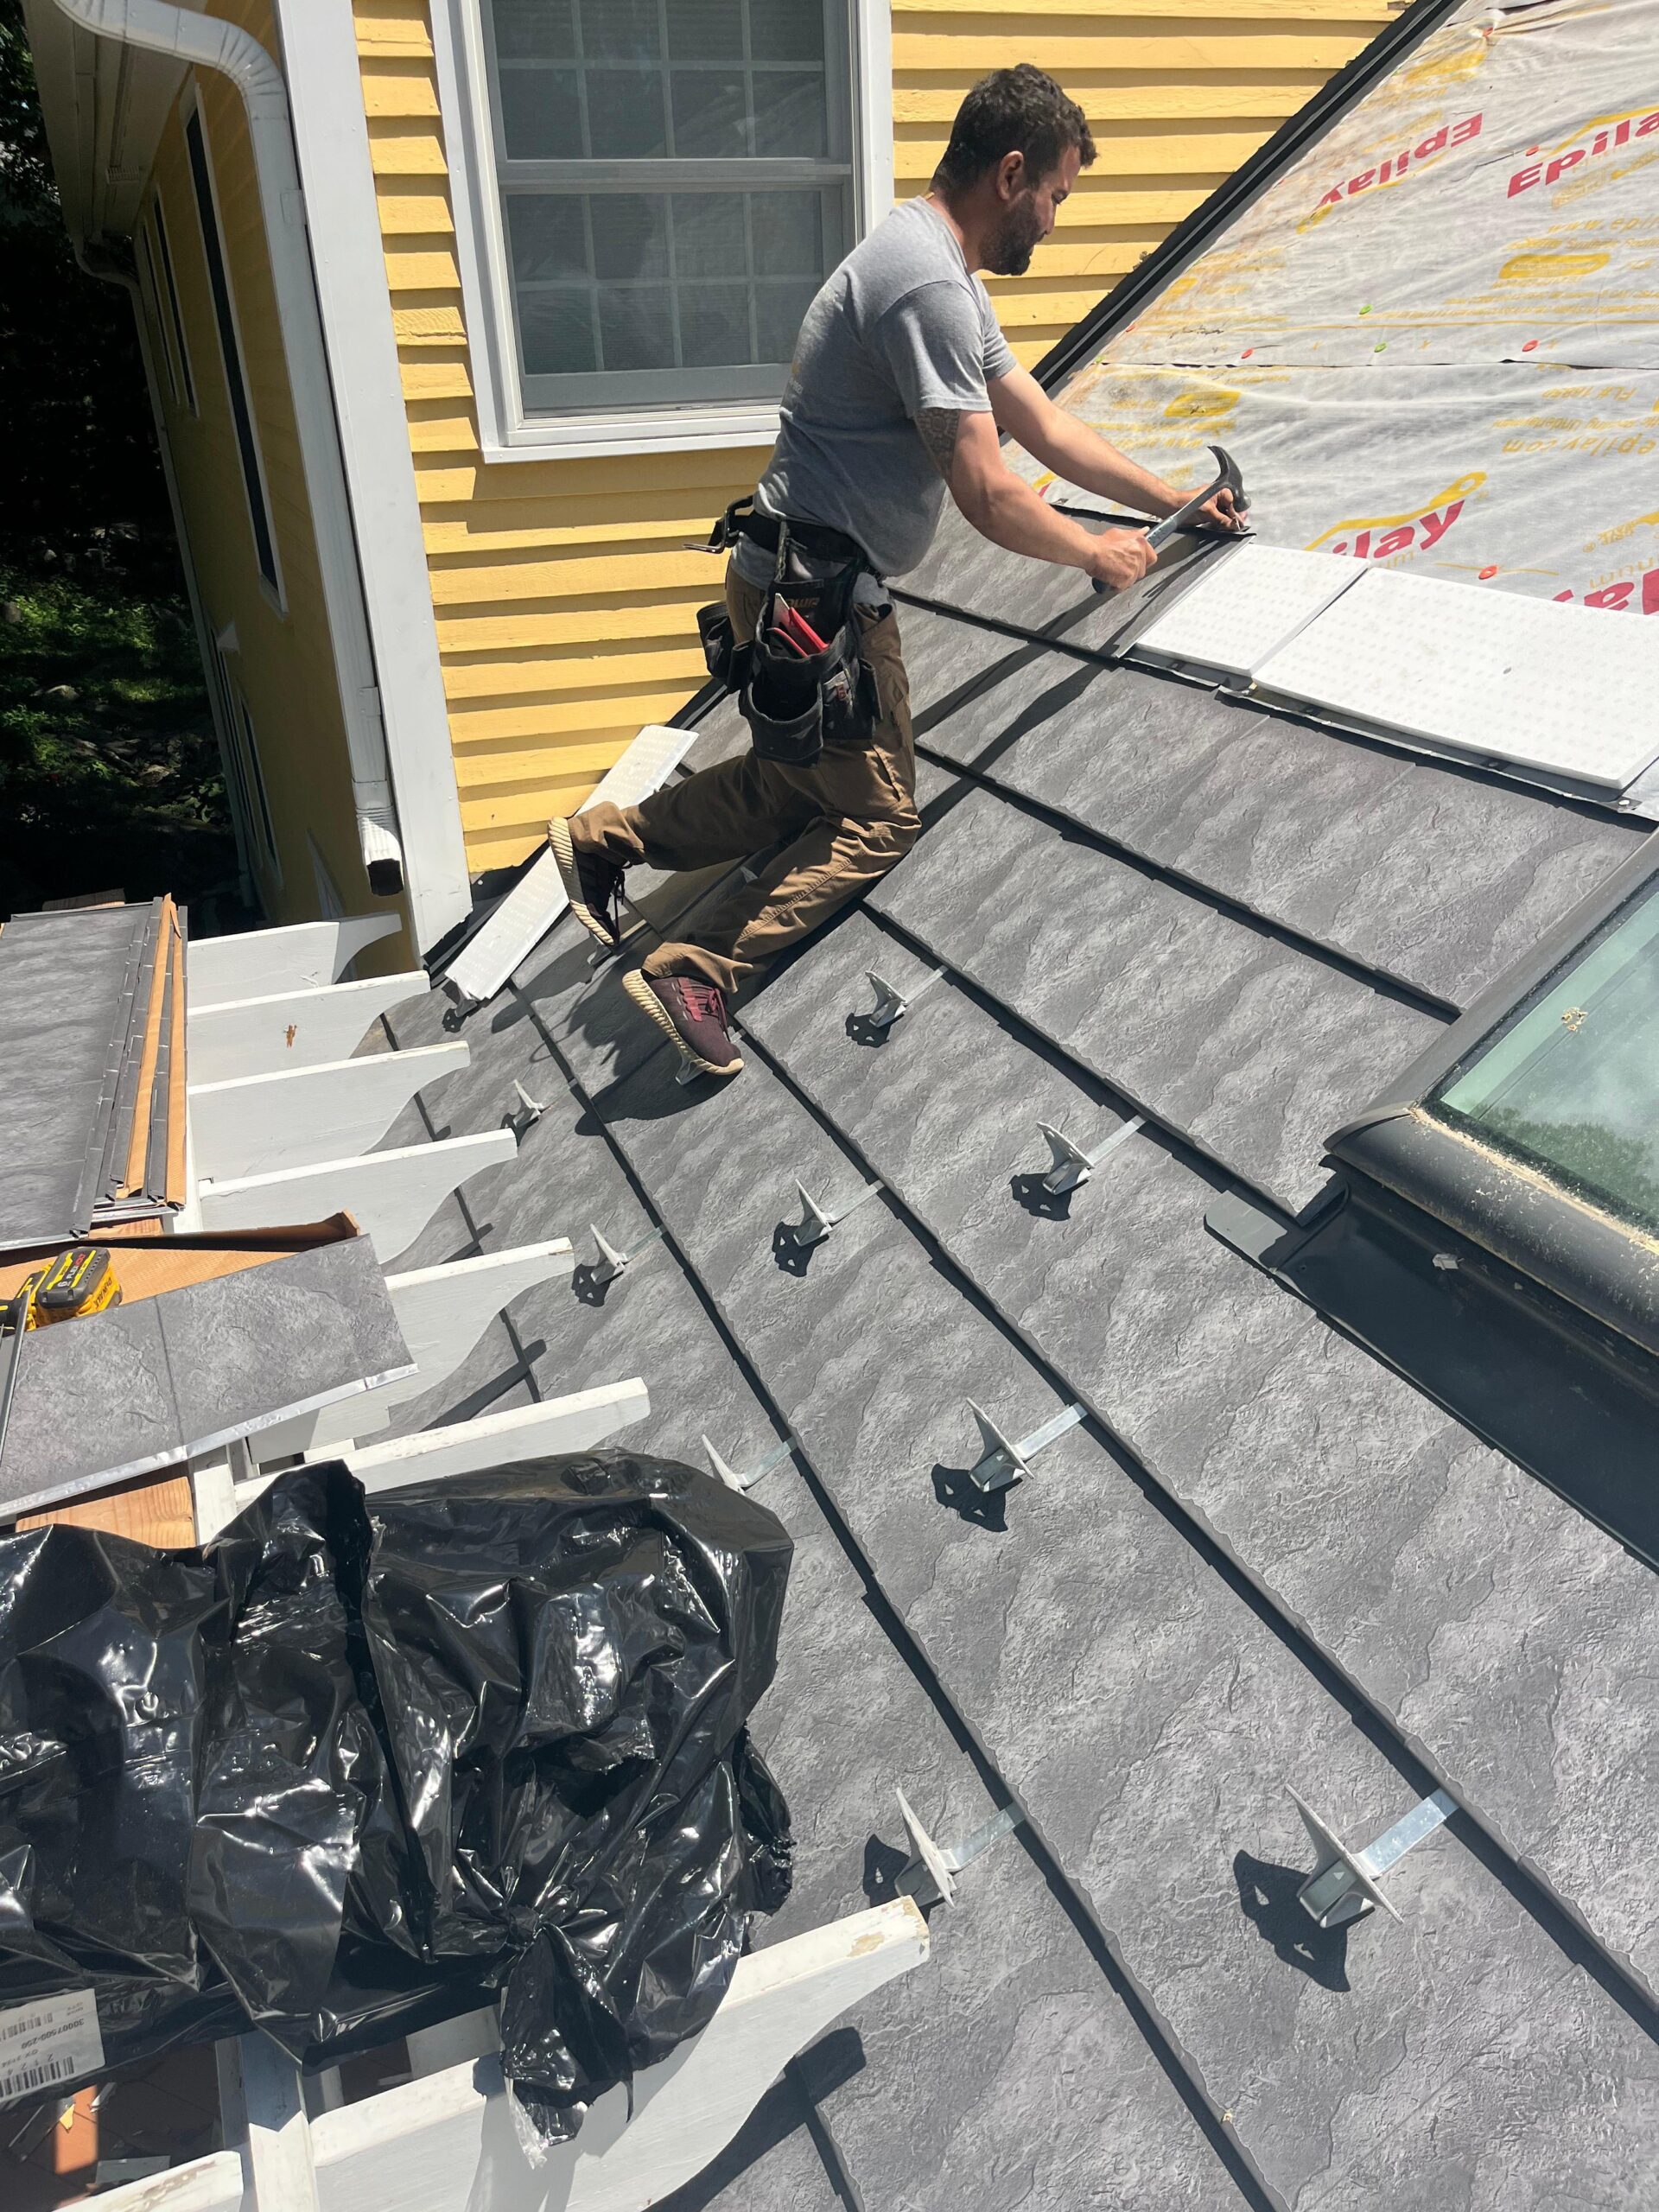
1. Work Your Way up and Across to Begin Laying Your Courses
Start at the bottom edge and work upward in overlapping rows so each course sheds water onto the one below it. Snap chalk lines across the deck to keep your courses straight and level as you move up the roof.
2. Follow the Pattern of Lining a Full Shingle up Against the Next and Then Nailing It Into Place
Set each full shingle against the previous one and fasten it according to the manufacturer’s specifications. Nail within the designated nailing zone, drive nails flush rather than overdriven, and use the correct number of fasteners per shingle. Following the spec sheet is what keeps the roof wind resistant and the warranty valid.
3. Cut Your Last Shingle on Each Row to Size
Trim the final shingle in each row to fit the edge cleanly, leaving the correct overhang at the rake. Use a sharp hook blade and cut from the back, keeping your footing secure on the slope while you work.
4. Do the Same With the Next Shingle
Begin the next course with the offset the manufacturer recommends so the seams stagger from row to row. Consistent spacing and overlap across every course are what give the roof its water resistance and overall strength.
5. Cut the Last Ridge Shingle to the Length You Need
Finish at the peak with ridge cap shingles, trimming the last one to length. Properly installed ridge caps complete the system, protect the ventilation at the peak, and add a clean, finished look that boosts curb appeal.
Common Roof Shingle Installation Mistakes to Avoid
Most roof failures are not caused by bad shingles. They are caused by installation errors that quietly undermine an otherwise good roof. Understanding the most common mistakes helps do-it-yourself roofers avoid them and shows why professional technique matters so much for long-term performance.
Improper Nailing
Nailing is the single most common point of failure. Nails driven too deep cut into the shingle, nails driven too shallow leave the head proud and create a leak path, and nails placed outside the nailing zone fail to hold. Using the wrong fasteners or too few of them weakens wind resistance. Follow the manufacturer’s nailing pattern precisely, because correct fastening is essential for both warranty compliance and weather resistance.
No Starter Shingles
Skipping starter shingles is a classic do-it-yourself shortcut. Starter strips seal the first course down and protect the edges from water intrusion and wind uplift. Without them, the bottom row has nothing to bond to, which leads to blow-offs and poor sealing, especially in storm-prone or high-wind areas.
Improper Shingle Alignment
Crooked or uneven courses do more than look bad. Misaligned shingles can disrupt how water drains across the roof and create weak points. Chalk lines, consistent spacing, and a proper staggered pattern keep the roof both attractive and leak resistant.
Signs You May Have Had an Improper Installation
Even a brand new roof can hide problems if the shingles, flashing, or underlayment were installed incorrectly. Knowing the early warning signs lets you catch poor workmanship before small issues turn into structural repairs. A professional inspection after installation or a major storm is one of the best ways to confirm the work was done right.
Shingles Lifting, Curling or Missing Granules
Shingles that lift or curl often point to improper nailing or poor attic ventilation. Heavy granule loss exposes the shingle mat to UV damage and signals that the roof is aging faster than it should, sometimes because of installation problems rather than normal wear.
Flashing Around Chimneys, Skylights or Vents Failing or Leaking
Flashing failures are among the leading causes of leaks at roof penetrations and transitions. Watch for water stains, rusted metal, mold growth, or visible gaps around chimneys, skylights, and vents. These are strong indicators that the flashing was not installed or sealed correctly.
Inconsistent Shingle Alignment or Visibly Short Nails
Uneven rows, exposed fasteners, or nails that are clearly too short suggest rushed or low-quality work. Beyond the cosmetic issue, poor alignment can compromise how the roof sheds water and resists wind.
Roof Leaks or Water Stains After Storms
Ceiling stains, attic moisture, or fresh leaks after heavy rain or windstorms frequently point to installation defects rather than ordinary aging. Address leaks quickly, because trapped moisture leads to mold, ruined insulation, and structural deterioration.
Why Proper Roof Shingle Installation Matters
A roof is not just a layer of shingles. It is a complete protective system designed to keep moisture, wind, heat, and structural damage out of your home. Even premium materials fail early when they are installed incorrectly, which is why proper installation is essential for durability, energy efficiency, and peace of mind.
Your Roof’s First Line of Defense
Correctly installed shingles shield the home from rain, wind, UV exposure, snow, and temperature swings. They direct water off the structure and prevent the moisture intrusion that would otherwise damage decking, insulation, and the living space below.
Avoid Hidden Failures
Poor flashing, incorrect nailing, or inadequate underlayment can create vulnerabilities that stay hidden for months or years. Small installation errors eventually surface as leaks, mold, wood rot, and expensive structural repairs when they are left unaddressed.
Long-Term Value & Warranty Protection
Professional installation maximizes the lifespan of your roofing materials and protects your manufacturer warranty. Many warranties require shingles to be installed exactly to specification, so correct installation is what keeps your investment and your coverage intact. When the time comes for a full roof replacement, proper workmanship is the difference between a roof that lasts and one that needs early repairs.
Aesthetics, Curb Appeal & Peace of Mind
Straight lines, even courses, and clean finishing improve curb appeal and property value. Just as valuable is the confidence of knowing your roof was installed correctly and built to handle local weather for years to come.
Roof Shingle Maintenance Tips
Regular maintenance extends the life of your shingles and helps you avoid costly repairs. Proactive inspections and routine upkeep catch minor issues early, before they grow into leaks, structural damage, or the need for a premature replacement.
Seasonal Roof Inspections
Inspect the roof at least twice a year and again after major storms, high winds, or heavy snowfall. Look for cracked shingles, lifted edges, damaged flashing, granule loss, and any sign of water intrusion in the attic or on ceilings.
Gutter Cleaning and Drainage Maintenance
Clogged gutters force water to back up under the shingles, which leads to leaks, wood rot, and fascia damage. Clean the gutters regularly, check the downspouts, and keep water flowing away from the roof and foundation.
Tree Trimming and Debris Removal
Overhanging branches and piles of leaves trap moisture, encourage moss growth, and can damage shingles during storms. Trim nearby trees and clear debris from the roof to preserve both performance and appearance.
Why Homeowners Trust Classic Metal Roofs for Roof Shingles Installation
Classic Metal Roofs brings decades of local roofing experience, premium materials, and manufacturer-compliant installation methods to every project. Our crews follow the exact specifications that keep warranties valid, and our reputation is built on careful craftsmanship and lasting customer satisfaction. Whether you need asphalt shingles installed correctly or are considering a long-life metal roofing system, our team handles the full scope of work so you do not have to take on the risk of a do-it-yourself installation. Explore everything we offer on our services page to see how we protect homes across the region.
Get a Professional Roof Shingles Installation Estimate Today!
Proper shingle installation protects your home, maximizes the life of your roof, and prevents the costly repairs that follow a rushed job. The smartest time to act is before a minor issue becomes major damage. Schedule a professional roof inspection or request a detailed installation estimate from Classic Metal Roofs, and let trusted local workmanship and high-quality materials give you lasting peace of mind. Request your free consultation or contact us to get started today.