Understanding Roof Pitch and Why it Matters
Roof pitch is the steepness of your roof, expressed as the number of inches the roof rises vertically for every 12 inches it runs horizontally. A roof described as 6/12 rises 6 inches over a 12-inch run. The flatter the roof, the lower the first number, and the steeper the roof, the higher it climbs.
Pitch matters because it changes the actual surface area of your roof. The footprint of your home, meaning the area you see when looking straight down, is smaller than the true surface a roofer walks on, and steeper roofs widen that difference. A low-slope roof at 3/12 adds only a small amount of surface area beyond the footprint, while a steep 12/12 roof can add 40 percent or more.
That extra surface translates directly into materials. Two homes with identical footprints can need very different shingle counts simply because one has a steeper roof. Pitch also affects drainage, installation difficulty, and labor costs. Steeper roofs shed water and snow quickly but require more safety equipment and time to install, which is why contractors price them higher. Understanding pitch before you measure keeps your estimate grounded in reality rather than guesswork.
Step by Step Measuring Process
The sections below break the process into manageable stages. Work through them in order, take your time, and write every number down as you go. A reliable measurement is built one careful step at a time.
Roof Preparation
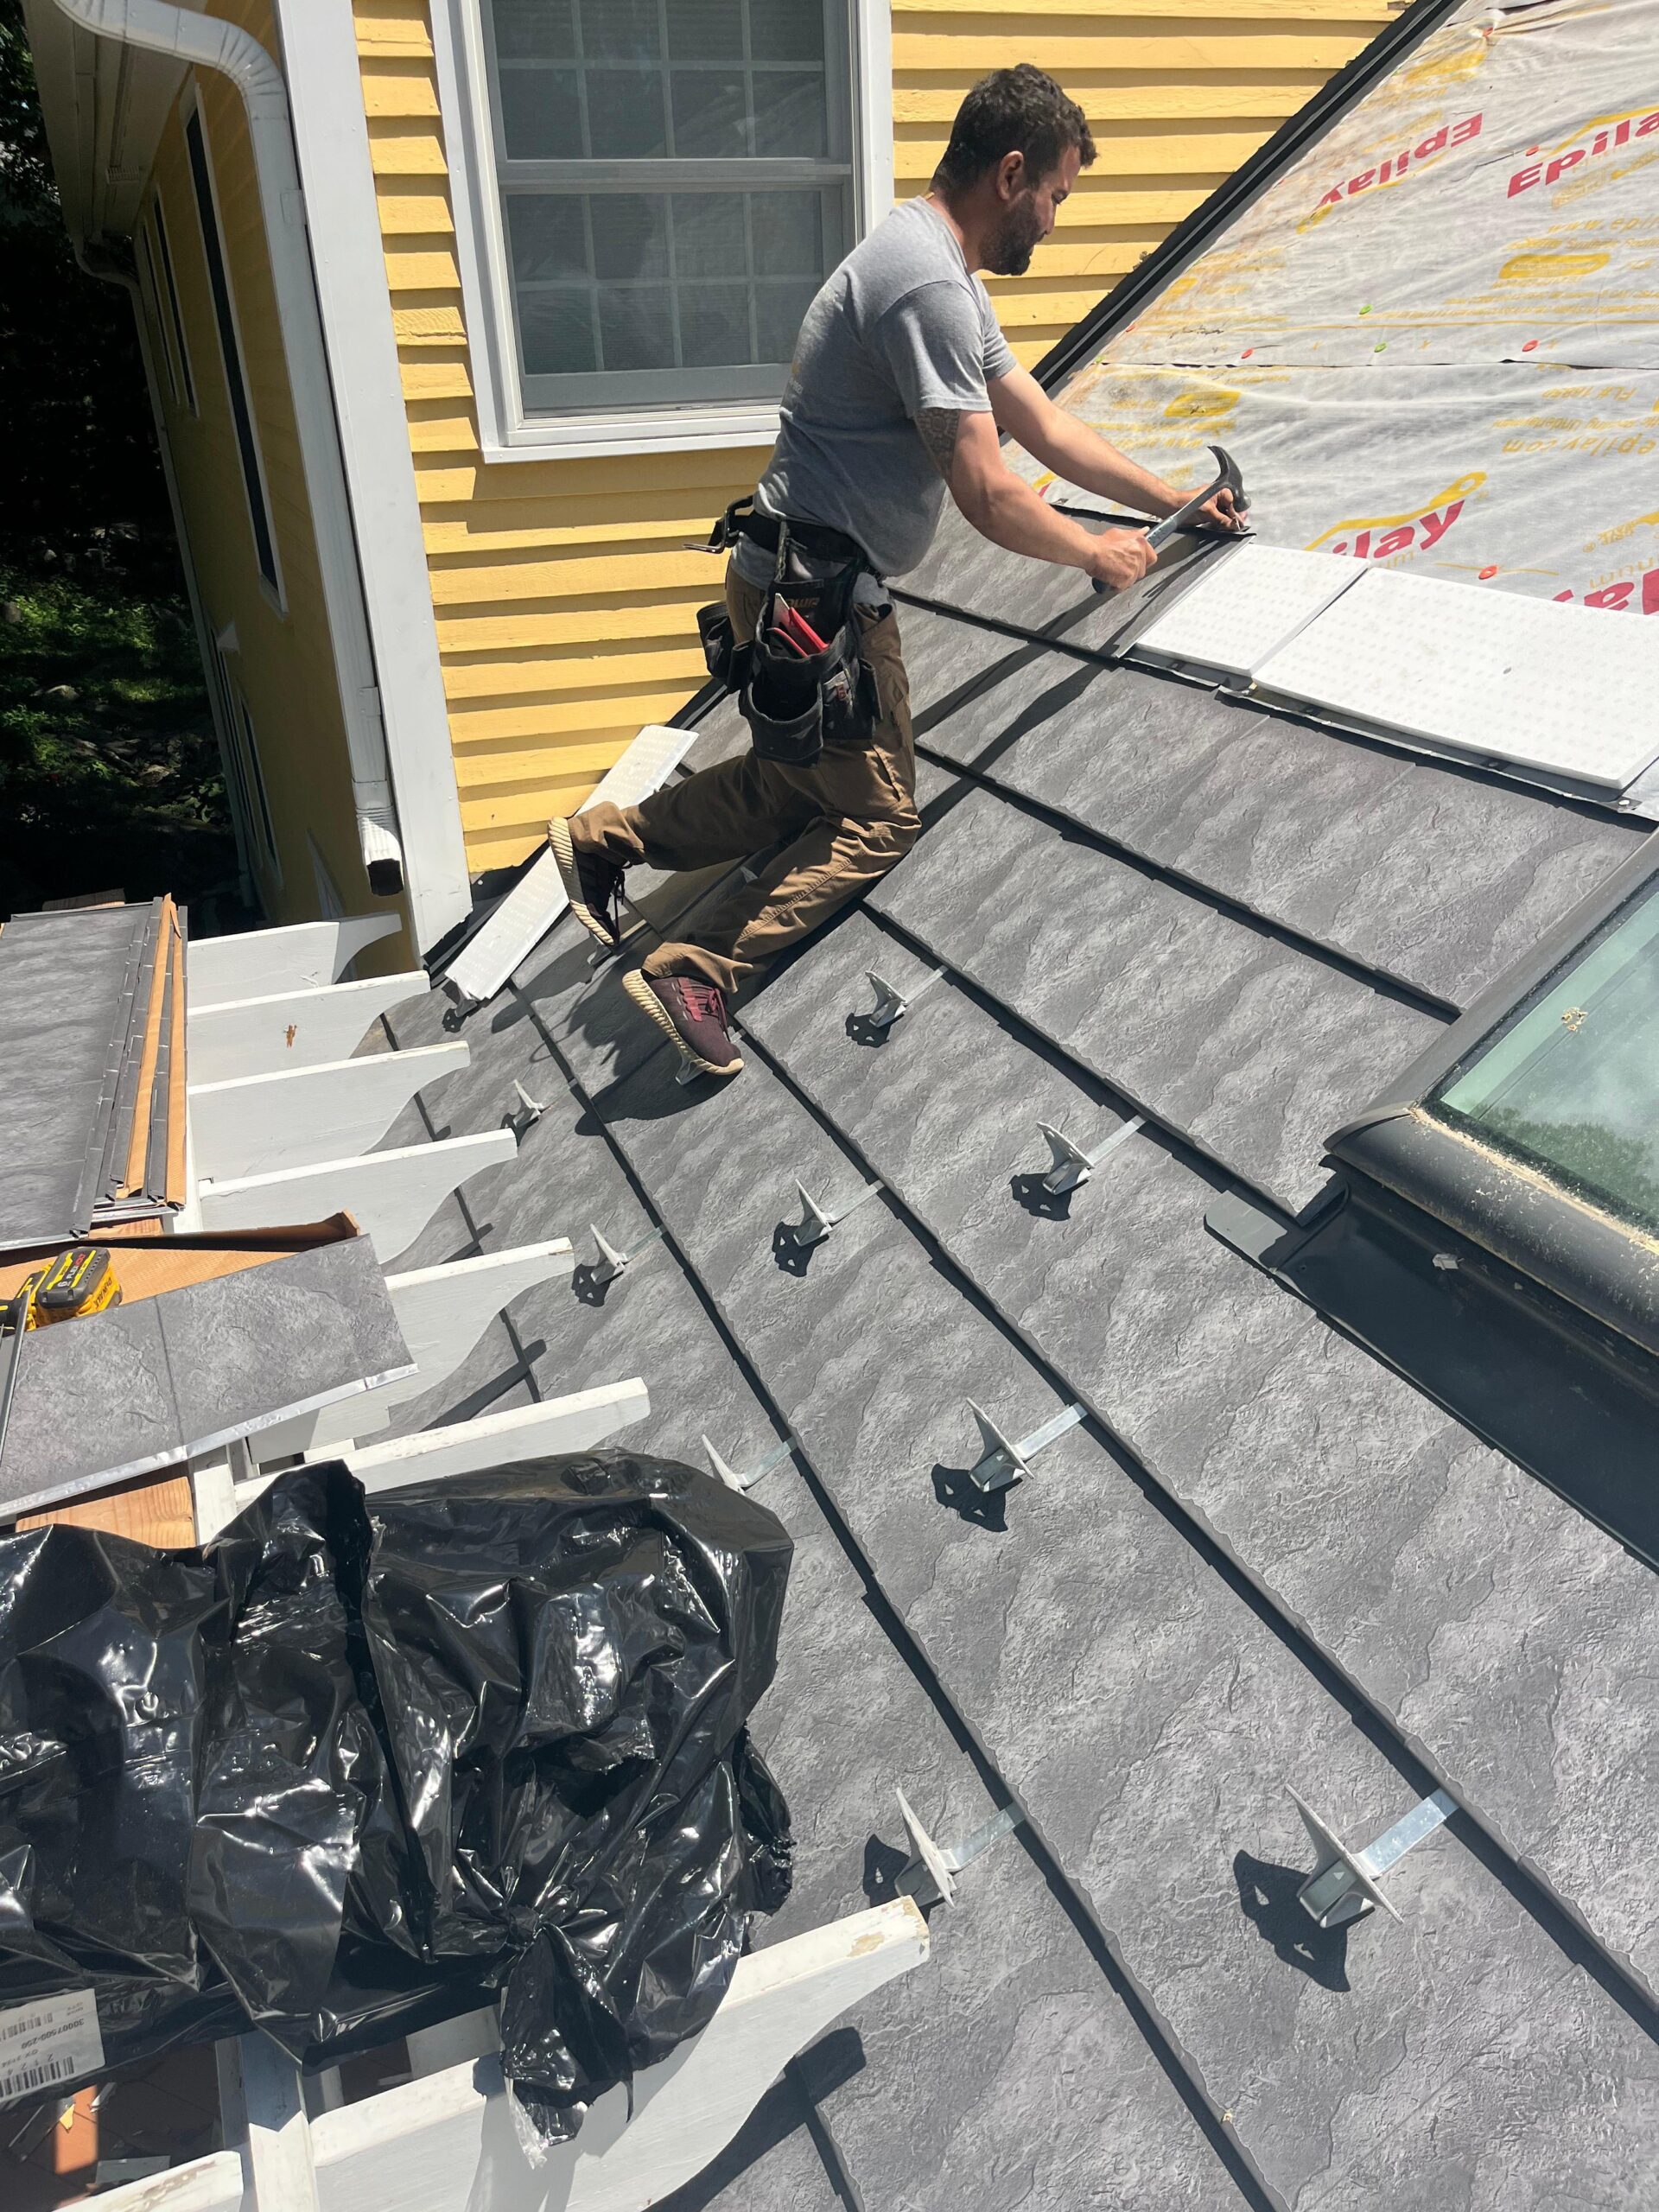
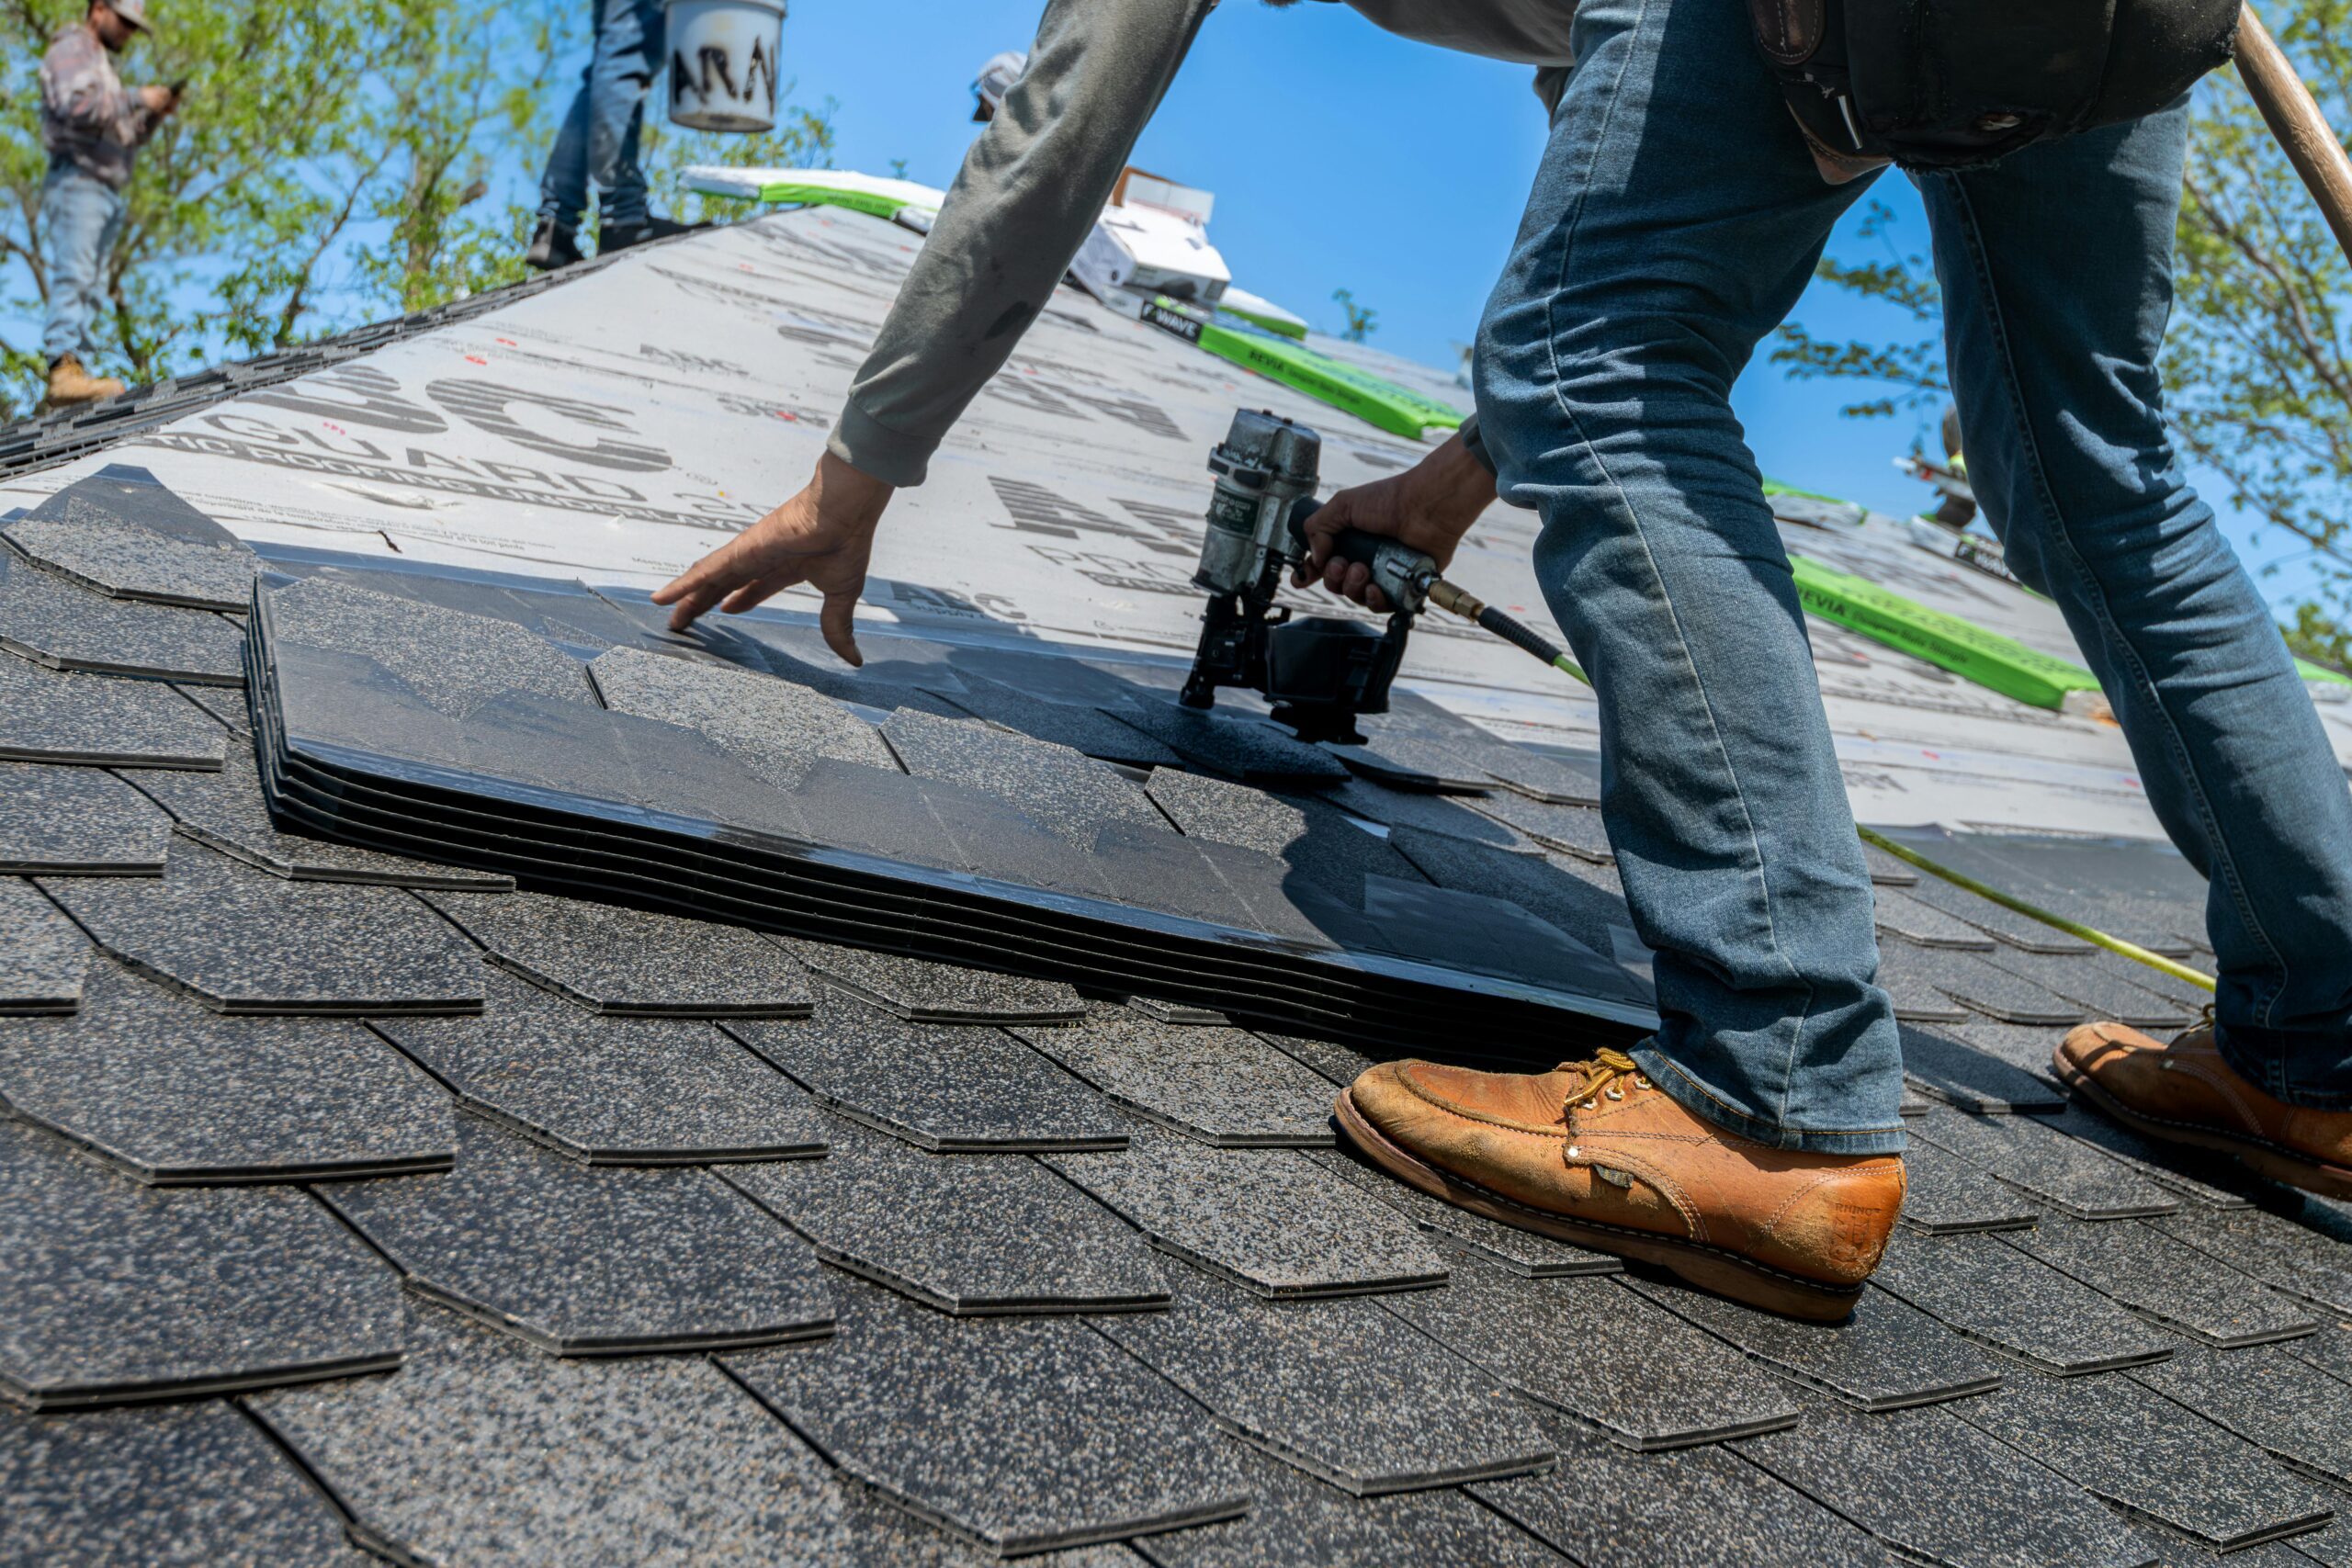
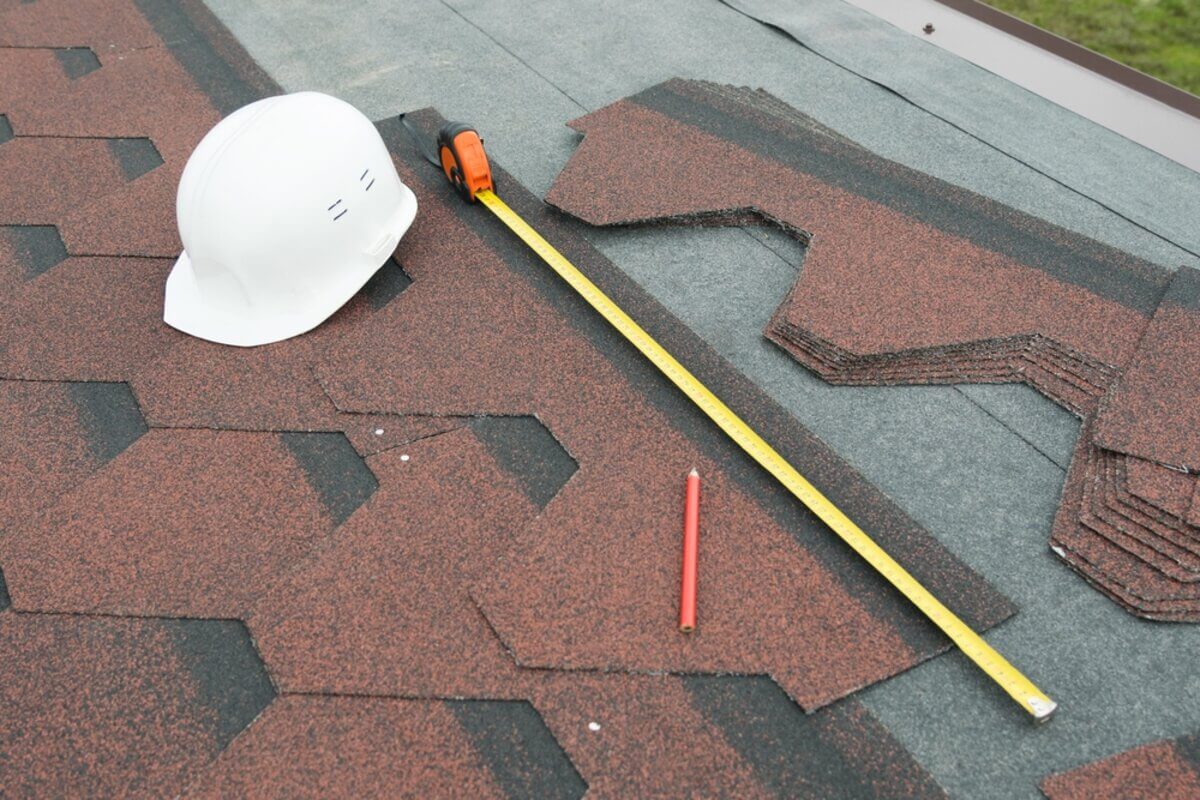
Good preparation prevents inaccurate numbers and keeps you safe. Before you measure anything, gather a few tools: a long tape measure or measuring wheel, a notepad or measurement app, a level, a pencil, and a sturdy extension ladder. A second person to steady the ladder and record numbers makes the job faster and safer.
Check the weather before you start. Dry, calm, mild days are ideal. Wet or icy surfaces are slippery, and strong wind makes ladder work dangerous. Plan your ladder placement on firm, level ground, extend it at least three feet above the roof edge, and have someone hold the base. Rushing or working in poor conditions leads to both bad measurements and serious injury risk.
Roof Inspection
Before measuring, take a few minutes to inspect the roof. Note its overall condition and how complex it is. Roofs with many valleys, dormers, chimneys, and changes in plane require more cuts during installation, which increases roofing waste. A simple two-plane roof might only need a 10 percent waste allowance, while a cut-up roof with multiple hips and valleys can need 15 percent or more. The condition you observe now feeds directly into your material calculations later.
Identify Roof Shape and Roofing System
Knowing your roof type shapes how you measure it. Common residential roofs include:
- Gable roof: two sloping sides that meet at a central ridge, forming a triangle at each end. This is the easiest type to measure.
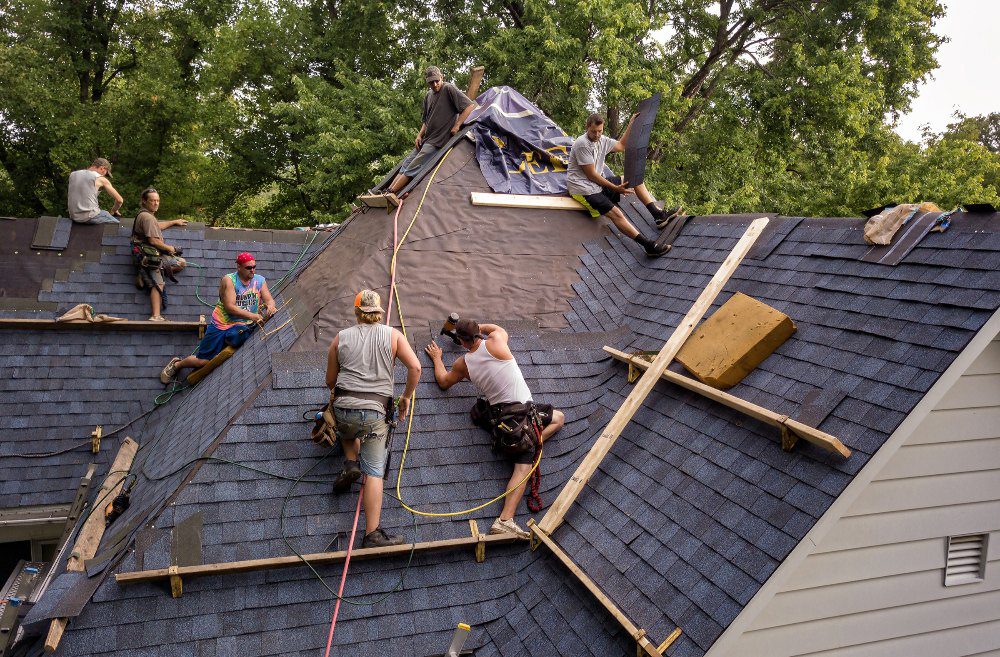
- Hip roof: all four sides slope downward toward the walls, with no vertical gable ends. Hip roofs have more planes and angled sections, so measuring a hip roof for shingles takes extra attention to each facet.
- Gambrel roof: two slopes on each side, with the lower slope steeper than the upper. Each slope must be measured separately.
- Complex or multi-plane roof: combinations of the above with dormers, wings, and intersecting sections. These require measuring each plane individually and adding the results.
Identify your roof shape first so you know how many separate planes you will need to measure and total.
Measure Ground Dimensions First
You can start before ever touching a ladder. Walk the perimeter of your home and measure the exterior footprint, meaning the length and width of the building at ground level. Include the overhangs by measuring to the outer edge of the eaves rather than to the wall. These ground measurements give you a baseline footprint that you will later adjust for pitch. Starting from the ground is safer, faster, and gives you a number to check your rooftop measurements against.
Roof Pitch Measurement
With your footprint recorded, the next number you need is pitch. The simplest method is to place a level horizontally against the roof slope, mark 12 inches along the level, then measure straight down from that 12-inch mark to the roof surface. That vertical distance is the first number in your pitch ratio. If it measures 6 inches, your pitch is 6/12.
You can take this measurement from inside the attic against a rafter, which avoids climbing on the roof entirely, or from a ladder at the roof edge. Digital pitch-finding apps that use your phone’s sensors also work well and remove the guesswork. Whichever method you choose, accuracy here matters, since pitch drives the surface area adjustment in the next step. Always prioritize safety, and never lean off a ladder to reach a measurement.
Roof Area Calculation
Now you can calculate the true roof area. Start with the footprint area by multiplying the length and width you measured from the ground. For example, a 40-foot by 30-foot footprint equals 1,200 square feet.
That footprint then needs a pitch adjustment, because the sloped surface is larger than the flat area beneath it. Roofers use a pitch multiplier for this. Multiply your footprint area by the multiplier that matches your pitch:
- 3/12 pitch: multiply by about 1.03
- 6/12 pitch: multiply by about 1.12
- 9/12 pitch: multiply by about 1.25
- 12/12 pitch: multiply by about 1.41
Using the 1,200 square foot footprint with a 6/12 pitch: 1,200 multiplied by 1.12 equals 1,344 square feet of actual roof surface. If your roof has several sections at different pitches, calculate each section separately and add the totals together.
Accounting for Waste Factor
No roofing job uses material with perfect efficiency. Shingles get cut to fit valleys, hips, ridges, and edges, starter strips consume full pieces, and a few shingles are simply damaged or trimmed during installation. The waste factor covers all of it. As a general guide:
- Simple roofs (basic gable, few cuts): add 10 percent
- Moderate roofs (some valleys or dormers): add 12 to 15 percent
- Complex roofs (multiple hips, valleys, and planes): add 15 to 20 percent
Apply the waste factor to your adjusted roof area. Using the 1,344 square foot example with a 15 percent waste factor: 1,344 multiplied by 1.15 equals roughly 1,546 square feet. Ordering enough material upfront is far cheaper and faster than running short partway through a job.
Convert to Roofing Squares
Roofing contractors and suppliers do not talk in square feet. They talk in squares. One roofing square equals 100 square feet of roof area, and shingles are sold and estimated by the square.
To convert, divide your total area by 100. The 1,546 square foot figure from above becomes 15.46 squares. Always round up to the next full or half square, so this roof would call for about 15.5 to 16 squares of shingles. Most shingle styles come three bundles to a square, so 16 squares means roughly 48 bundles. Working in squares keeps your numbers aligned with how the entire roofing industry quotes and orders material.
Pro Tips for Accurate Measurement
Use Satellite Measurement Tools
You do not always need to climb onto your roof. Satellite imagery and drone-based measurement services can calculate roof dimensions, pitch, and area from aerial photos. These tools generate a detailed report of every plane and slope, often within a small margin of error. They are especially useful for steep or complex roofs where rooftop measuring is risky. Many roofing contractors use these technologies to produce precise estimates without putting anyone on a ladder.
Use a Roofing Calculator
Online roofing calculators take the math off your plate. Enter your roof dimensions, pitch, and roof type, and the calculator converts everything into roofing squares, shingle bundles, and a waste estimate. They are a quick way to check your hand calculations and catch arithmetic errors before you place an order. Treat the calculator as a second opinion rather than your only source, and confirm that the inputs are accurate.
Check Your Math
Before you buy anything, double-check every measurement and calculation. Re-measure key dimensions, confirm your pitch multiplier, and verify that your waste factor matches your roof’s complexity. Small errors compound quickly. A miscalculated pitch or a dropped digit can leave you several squares short, cause overspending, delay your project, or throw off the quotes you receive from contractors. Five minutes of review can save days of frustration.
Call a Pro
If your roof has steep slopes, multiple planes, storm damage, or complex architectural features, calling a professional is the smart move. Roofing contractors have the equipment, training, and tools to measure safely and accurately. A professional inspection also catches underlying issues that affect material needs, such as damaged decking. For homeowners planning a roof replacement or another major roofing project, a professional measurement is the most reliable and safest path forward. You can request a free consultation to get an expert assessment of your roof.
Why Proper Measurement Saves You Money
Fewer Delays
Accurate measurements keep your project on schedule. When you order the correct amount of shingles, underlayment, and accessories, the crew can work straight through without stopping to source more material. Running short mid-installation leaves sections of your roof exposed to the weather and can push the timeline back by days while you wait on a new delivery. Precise numbers keep everything moving.
Reduced Waste
Careful calculations prevent over-ordering. Buying far more shingles than you need ties up money and leaves you paying to dispose of leftover material. Misjudging roof complexity, or padding the waste factor too generously, can add a noticeable amount to the total project budget. Measuring accurately means you buy what the roof actually needs and little more.
Better Contractor Estimates
When you know your roof’s true dimensions, you can compare contractor quotes with real confidence. Precise measurements make it easy to spot pricing discrepancies and understand what each estimate covers. They lead to more transparent labor costs, material estimates, and project timelines, so you negotiate from knowledge rather than guesswork.
Smarter Shopping
Understanding your roof measurements lets you shop efficiently for shingles, accessories, and contractor services. You can compare material pricing, bundle quantities, warranties, and local supplier options knowing exactly how much you need. That puts you in a stronger position to find the right product at the right price. Browsing the full range of roofing services available also helps you weigh your options before committing.
Common Measurement Mistakes To Avoid
Ignoring The Pitch Factor
The most common mistake is measuring only the footprint and skipping the pitch adjustment. A flat footprint number always underestimates the true roof surface, and the steeper the roof, the larger the gap. Forgetting the pitch factor can leave you several squares short. Always apply the correct pitch multiplier so your material order reflects the real sloped area.
Forgetting Overhangs
Eaves, rakes, and other overhangs extend past the walls of your home, and they all need shingles. Measuring only to the wall line rather than to the outer edge of the roof leaves material out of your calculation. Always measure to the outermost edge of the roof so overhangs are fully included.
Skipping The Waste Factor
Ordering exactly the calculated surface area with no waste allowance almost guarantees a shortage. Valleys, hips, ridges, and cut pieces all consume extra material, and complex roofs waste more than simple ones. Professional roofers always build a waste percentage into their estimates, and you should too.
Rounding Down Instead of Up on Roofing Squares
When your total lands on a partial square, always round up. Rounding 15.46 squares down to 15 leaves you short and risks stalling the job partway through. Roofing material should be rounded up to the next full square to guarantee full coverage and keep installation efficient.
Measuring in Poor Conditions
Measuring a roof on a wet, windy, or low-visibility day is both inaccurate and dangerous. Slippery surfaces and unstable ladders increase the risk of falls, and poor conditions make it hard to take careful readings. Wait for dry, calm weather, and if conditions will not cooperate, use ground-based or satellite methods instead.
Frequently Asked Questions
How do I measure my roof if I cannot safely climb on it?
You have several safe options. You can measure the footprint from the ground and take pitch readings from inside the attic against a rafter. Satellite imaging tools and drone measurement services calculate roof dimensions without anyone leaving the ground. You can also hire a professional roofer to handle the measurement. Safety comes first, and many homeowners rely on contractors for accurate measurements on steep or hard-to-reach roofs.
What is a roofing square and how do I calculate it?
A roofing square is a unit equal to 100 square feet of roof area. To calculate the number of squares your roof needs, take your total adjusted roof area in square feet and divide it by 100. For example, a roof with 1,800 square feet of surface area equals 18 squares. Shingles are sold and estimated by the square, which makes this the standard unit for ordering material.
Should I use the same measurements for underlayment and shingles?
Both underlayment and shingles start from the same base roof area, so your core measurements stay the same. The quantities can differ slightly, though. Underlayment comes in rolls with a specified overlap at the seams, so coverage per roll is a little different from shingle coverage. Calculate both from the same roof measurements, but follow each product’s installation guidelines for overlap when you work out exactly how much to buy.
Final Shingle Quantity Calculation
Bringing it all together, here is the full sequence from start to finish. Measure your footprint from the ground. Determine your roof pitch and find the matching multiplier. Multiply the footprint by that multiplier to get the true roof surface area. Add a waste factor of 10 to 20 percent based on your roof’s complexity. Divide the result by 100 to convert to roofing squares, then round up to the next full square. Multiply your squares by three to estimate bundles, since most shingles come three bundles per square.
Worked through with real numbers: a 1,200 square foot footprint at 6/12 pitch becomes 1,344 square feet of surface. With a 15 percent waste factor, that rises to about 1,546 square feet, or 16 squares once rounded up, which equals roughly 48 bundles of shingles.
If your roof is steep, complex, or storm-damaged, have your numbers confirmed by a professional before you order. Classic Metal Roofs can verify your measurements and provide an accurate final estimate for your project. Contact Classic Metal Roofs to schedule an assessment and move forward with confidence.