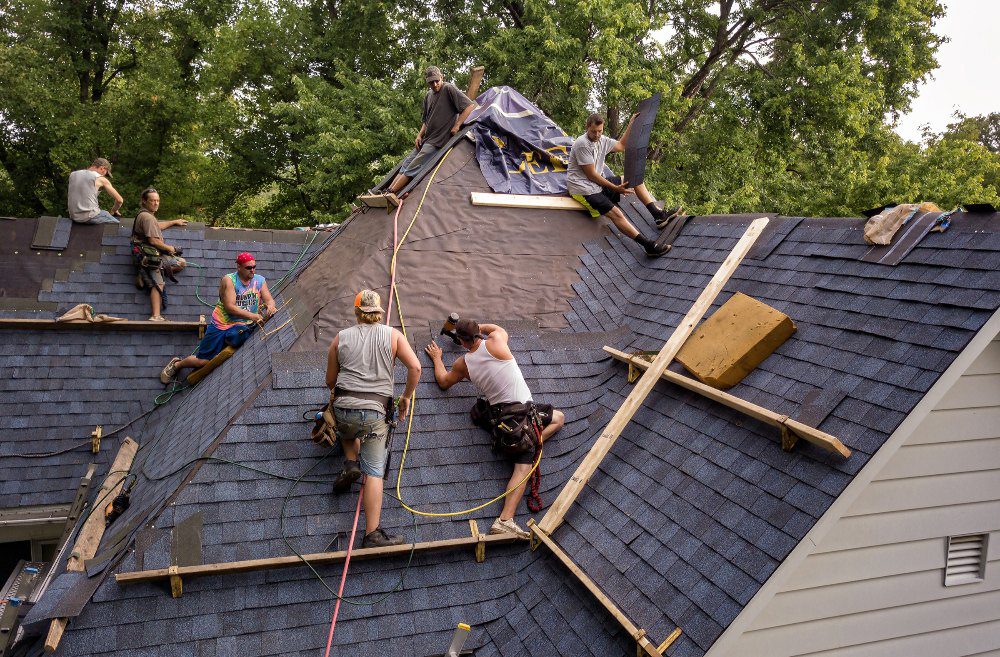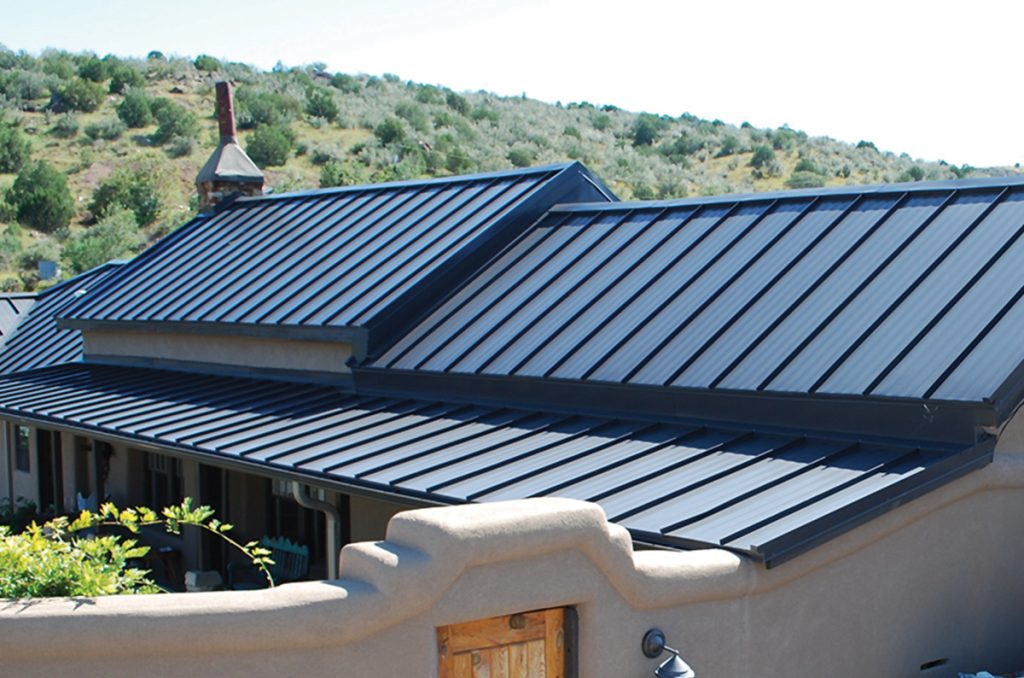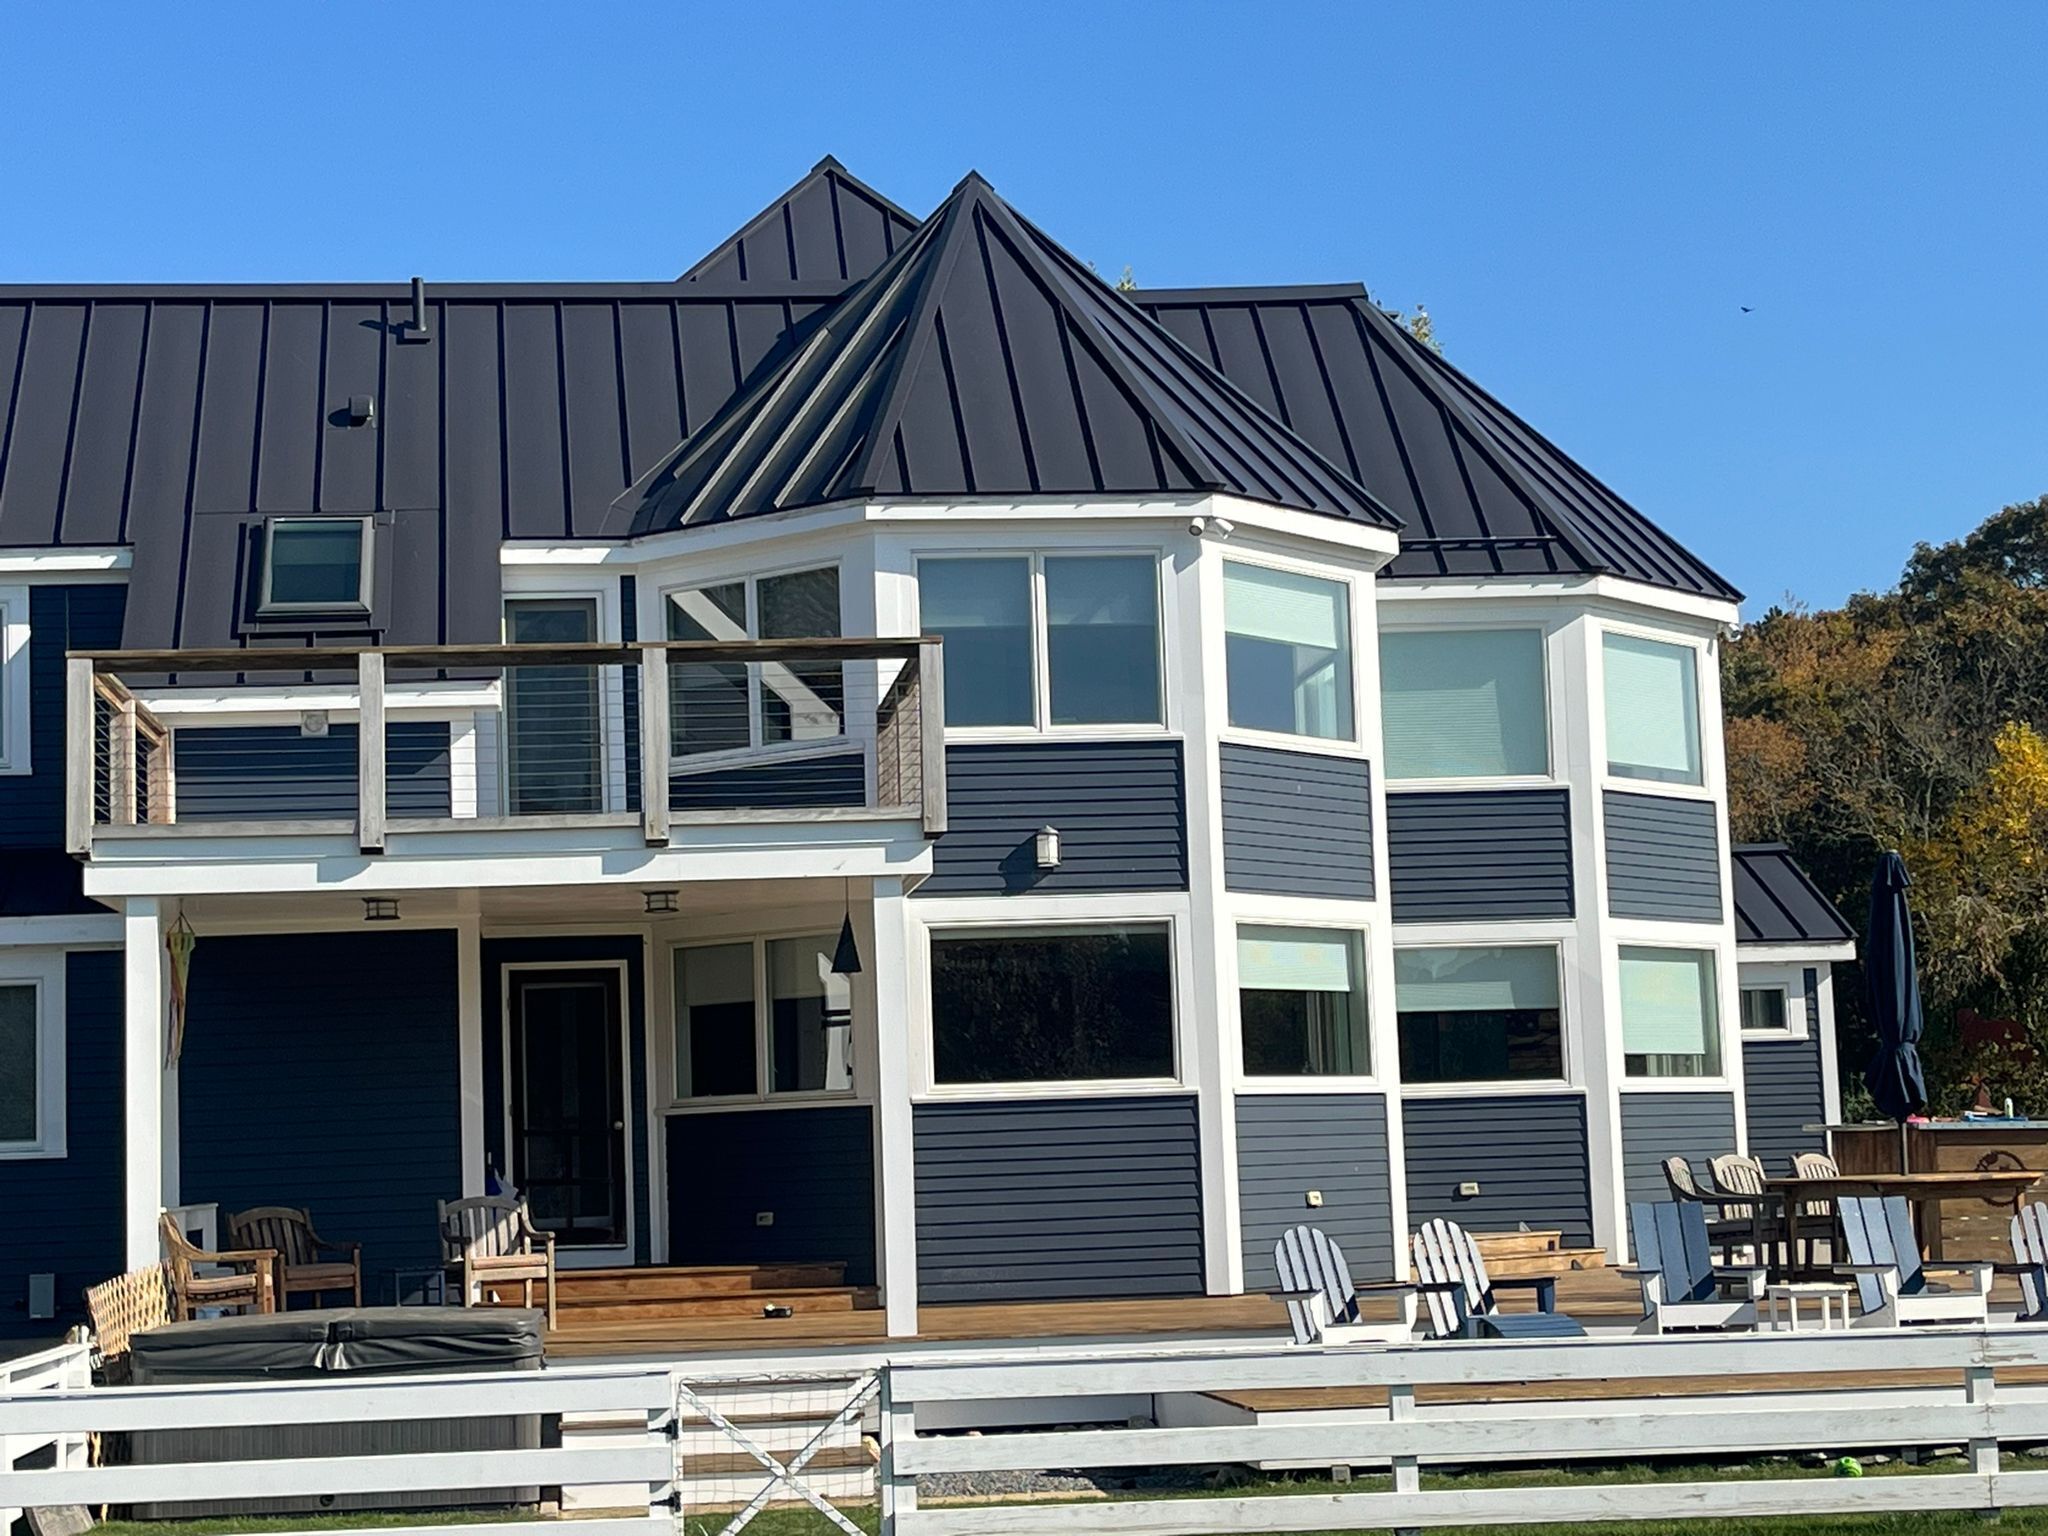
Metal roofs are known for their durability, longevity, and ability to withstand harsh weather conditions. However, even with these advantages, they can develop minor issues such as leaks or damage over time. Properly patching a metal roof is crucial to prevent further problems and maintain the roof’s integrity. Whether the issue arises from punctures, corrosion, or normal wear and tear, addressing these problems can save homeowners from costly repairs.
Assessing the Damage
The first step in patching a metal roof is to assess the damage. This requires a thorough inspection to locate all the weak points or leaks. It’s important to check for punctures, rust spots, or loose seams. If water stains appear on the ceiling, they can help trace the source of a leak, though it’s essential to remember that water can travel along beams or ridges before dripping down. This means the visible water stain may not be directly under the leak. Ensuring all areas of concern are appropriately identified will give you a better idea of the materials and time needed for the repair.
Preparing the Roof Surface
Once the damaged areas have been identified, the next step is to prepare the roof for repair. Cleaning the surface is critical to ensure that the patch adheres appropriately. Remove debris, dirt, or rust around the damaged area using a wire brush or sandpaper. It’s essential to have a clean and smooth surface so the patching material can create a watertight seal. After cleaning, inspect the area for any further rust, and if necessary, apply a rust inhibitor to prevent future corrosion.
Applying the Patch
There are several methods for patching a metal roof, depending on the severity of the damage. For minor punctures or leaks, a metal patch is an effective solution. Begin by cutting a piece of metal patch slightly larger than the hole. The patch material should match the original roof to ensure consistency in protection and appearance. Apply a generous amount of roofing sealant around the damaged area, then place the patch over the hole. Press it down firmly, ensuring the edges are completely sealed. Using screws to secure the patch further can help, but ensure they are placed where water cannot seep through.
For larger areas of damage or widespread rust, you might need a more extensive repair using mesh or reinforced fabric patches combined with roofing cement. In this case, spread the roofing cement over the damaged area, lay the mesh fabric over it, and apply another layer of roofing cement. This method creates a durable, waterproof seal to handle larger damage areas.
Ensuring Long-Lasting Results
After the patch is applied, ensuring the repair lasts is essential. Regular patch inspections are recommended to ensure it remains secure and continues to prevent leaks. Painting the patched area can also provide extra protection from the elements, especially UV rays and moisture. Ensure the paint is designed for metal roofs to avoid any chemical reactions that could cause further damage.
Proper maintenance is vital to extending the life of your metal roof. Regularly cleaning gutters, inspecting for loose fasteners, and addressing minor issues before they become major problems will help you avoid larger, more expensive repairs in the future.
Conclusion
Patching a metal roof is a straightforward process that can be completed with basic tools and materials. By following these steps—assessing the damage, preparing the roof, applying the patch, and maintaining the repair—you can protect your metal roof from further deterioration. Proper care and timely patching ensure that your roof will continue to provide long-lasting protection for your home or building.