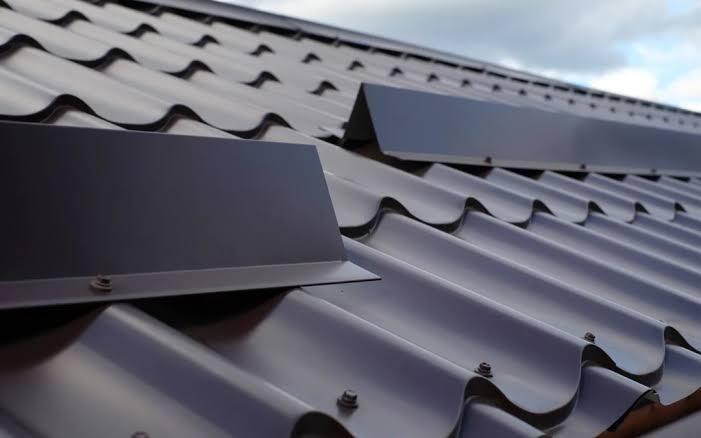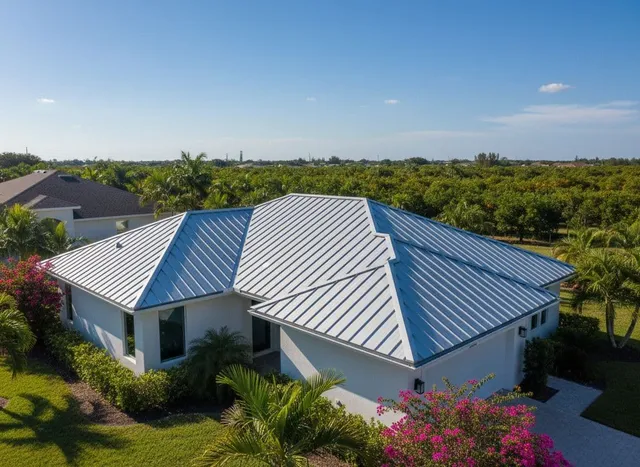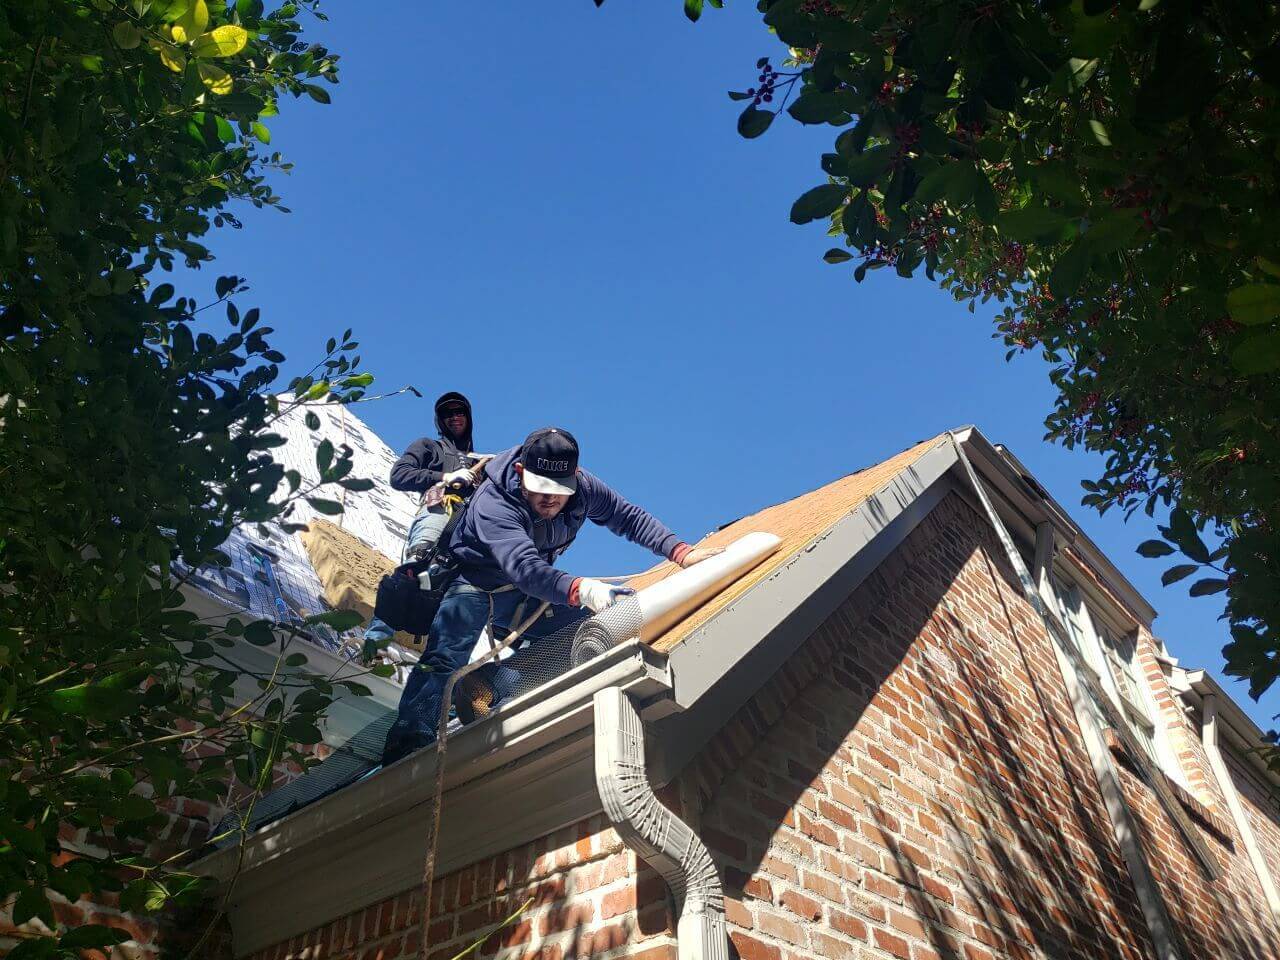


Metal roofing panels are widely used for durability, energy efficiency, and low maintenance requirements. Whether installing a new roof or making repairs, cutting the panels to fit properly is crucial. Cutting metal roofing panels might seem intimidating, but the process can be manageable and efficient with the right tools and techniques. This guide will walk you through the steps to ensure you cut your metal roofing panels safely and accurately.
Choosing the Right Tools
The first and most important part of cutting metal roofing panels is selecting the appropriate tools. The tool you use depends on the type and thickness of the metal. Popular options include tin snips, metal shears, circular saws with a metal-cutting blade, and nibbler tools.
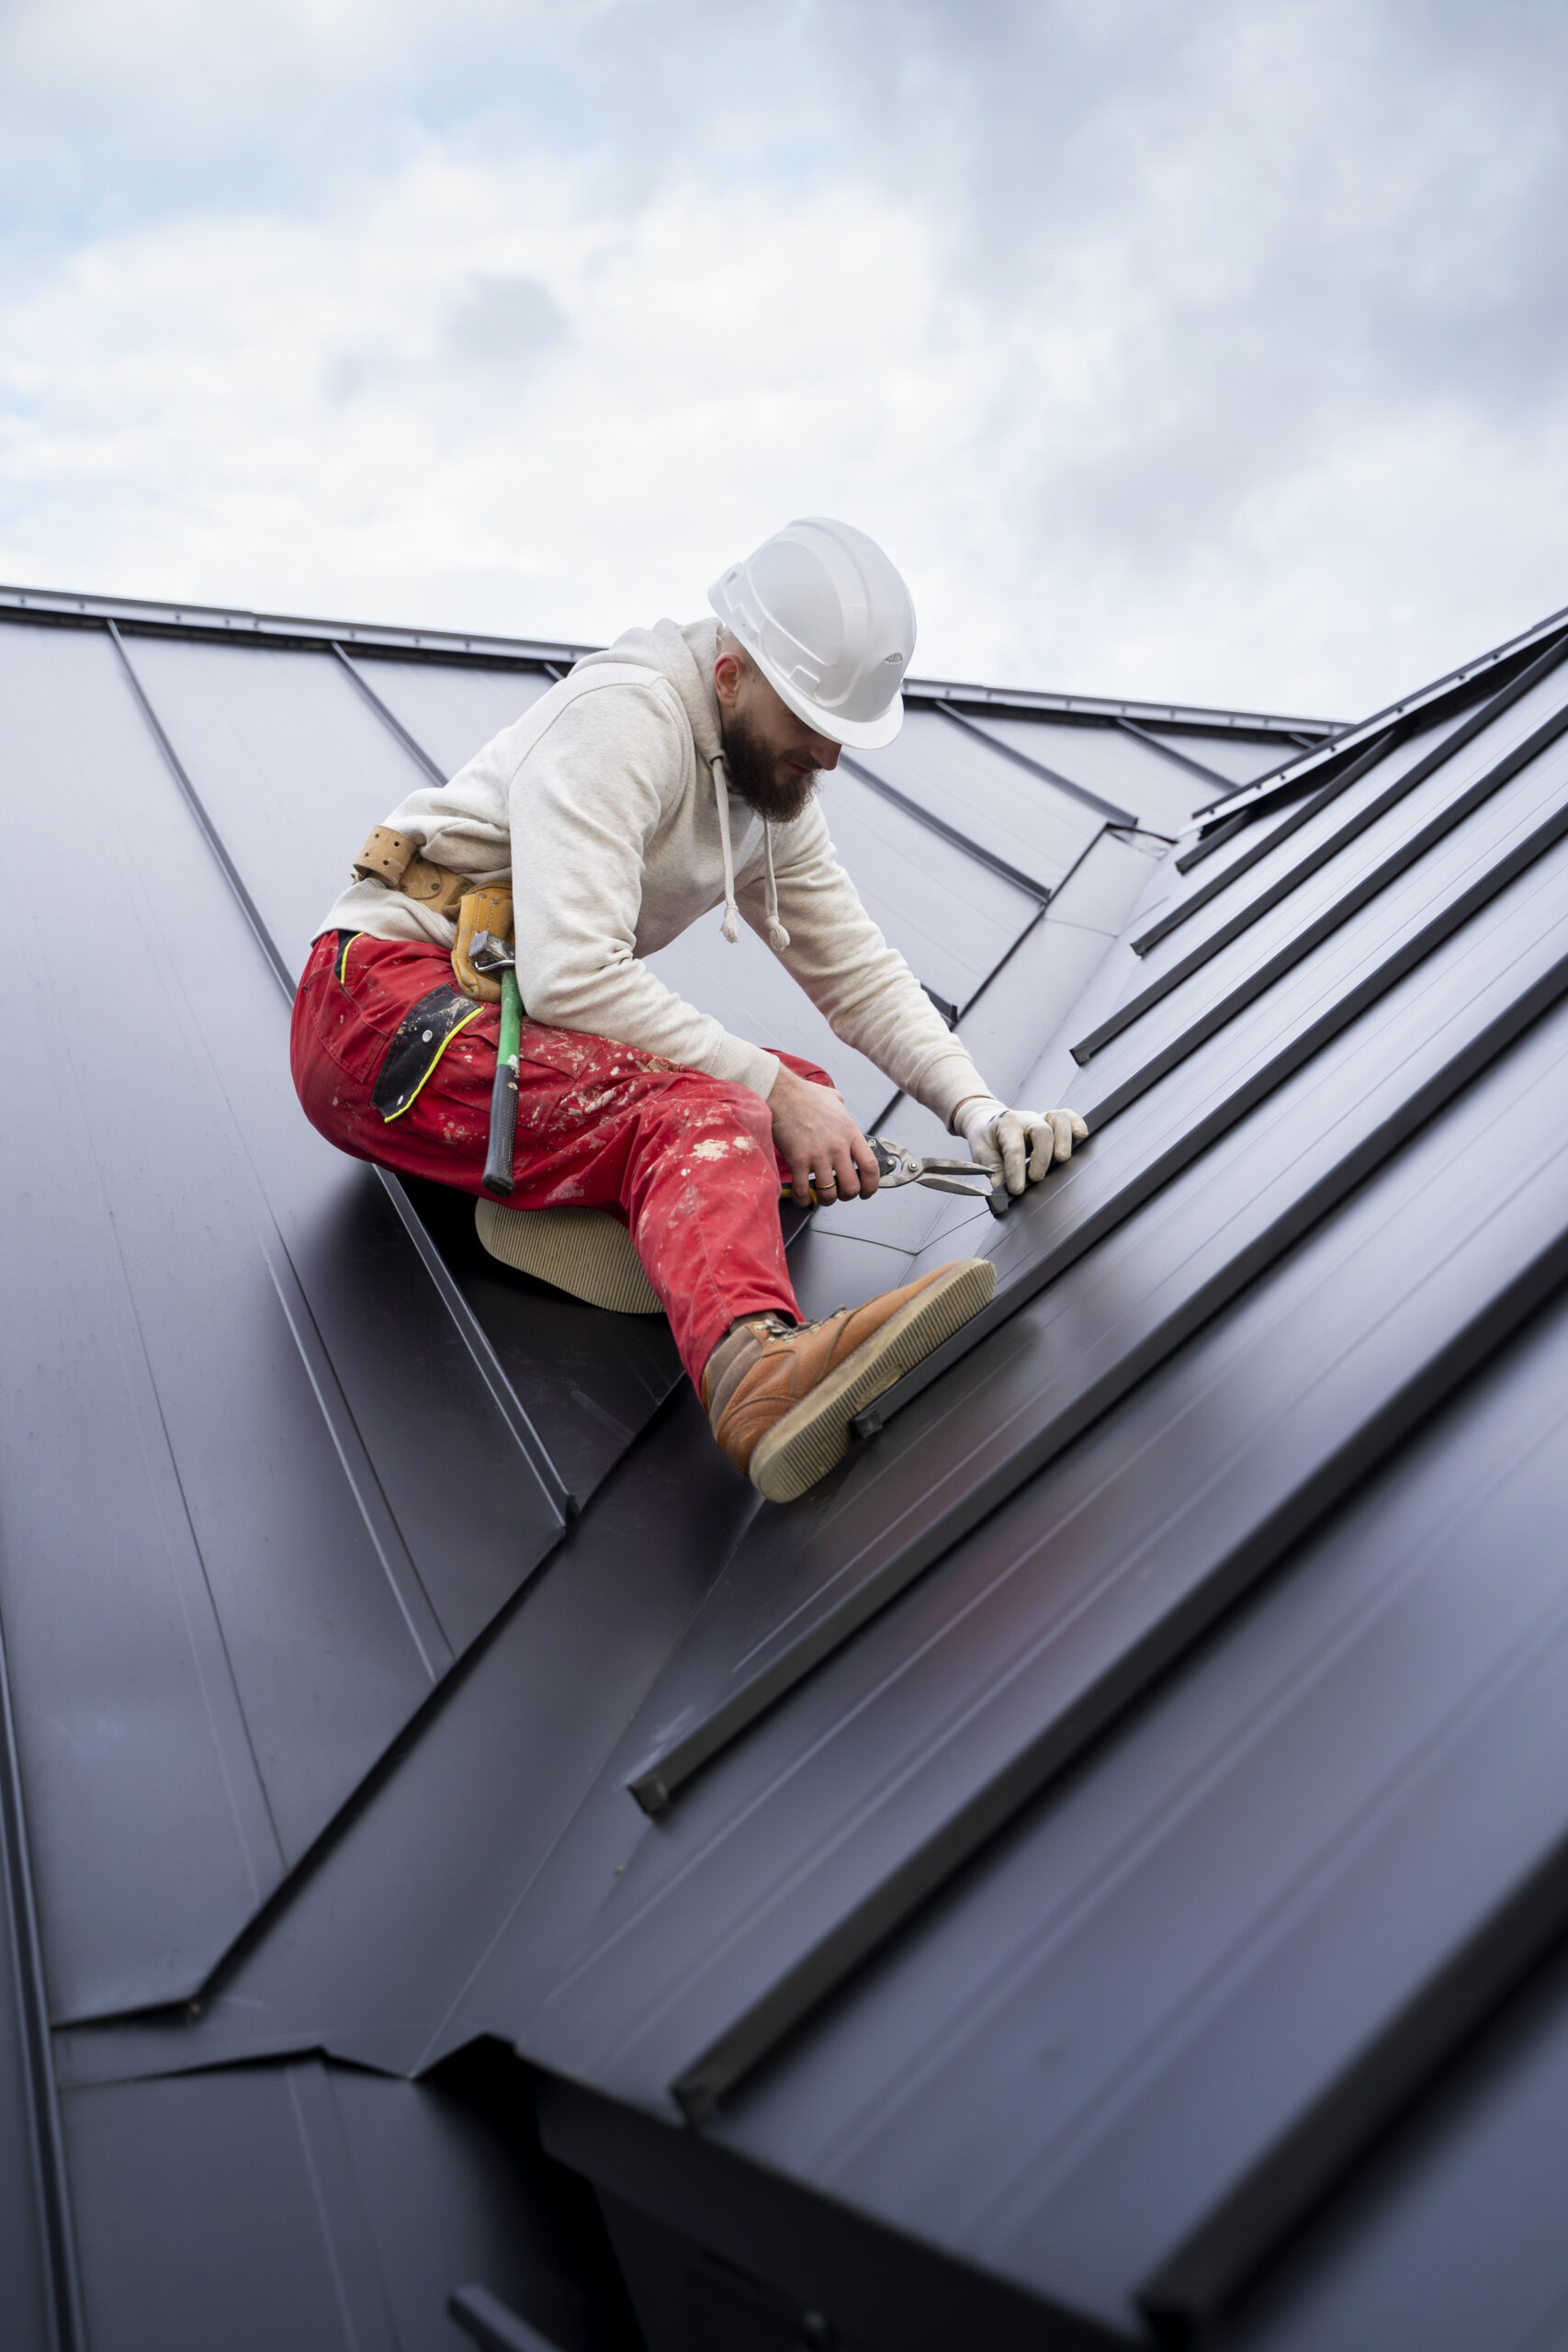
– Tin Snips: These are the simplest and most accessible tool for cutting thin metal roofing panels. They function like scissors and are ideal for small, precise cuts, such as trimming around edges or for detailed work around obstacles like vents or chimneys.
– Electric Metal Shears: These work faster than tin snips and are suitable for longer, straight cuts. They are effective for thicker metal and allow for more precision in large areas.
– Circular Saw with Metal-Cutting Blade: If you need to make long, straight cuts through thicker metal, a circular saw is an efficient choice. You’ll need to use a blade designed for cutting metal to avoid damaging the panels and the saw.
– Nibbler Tool: This is a more specialized tool for cutting complex shapes in metal roofing. Nibblers allow for curved and intricate cuts with ease and precision.
Measuring and Marking
Before making any cuts, precise measurement and marking are crucial to avoid waste and ensure the panels fit properly. Measure the area where the panel will be installed using a tape measure. Make sure to account for overlaps between panels if required, which will depend on the specific type of metal roofing you are using.
Once the measurements are taken, transfer them onto the panel using a permanent marker or chalk line. This ensures that your cut is straight and accurate. Double-check your measurements before cutting to avoid costly mistakes. Straight lines can be marked with a straight edge or ruler, while curved or angular cuts may require templates.
Preparing the Work Area
Cutting metal roofing panels can create sharp edges and flying debris, so safety and preparation are important. Set up a safe and clean workspace, ideally on a flat surface like sawhorses or a workbench. Ensure you have sufficient space to move around the panel easily while cutting.
Always wear protective gear, including safety glasses, heavy-duty gloves, and hearing protection if using power tools. Metal shavings can be hazardous, so taking proper precautions is essential to avoid injury.
Making the Cut
You can begin the cutting process with the panel securely in place and your tool selected. Here’s a step-by-step guide for different cutting tools:
– Tin Snips: Start at one edge of the panel and work your way across. Be mindful of sharp edges and apply even pressure as you cut through the metal. You may need to reposition the panel for long cuts for easier handling.
– Electric Shears: Position the shears at the start of your marked line. Slowly guide the tool along the line, keeping steady pressure to ensure a straight cut. If cutting multiple panels, shears are ideal for maintaining uniformity.
– Circular Saw: Place the circular saw blade along the marked line for long, straight cuts and slowly guide it through the panel. Ensure the panel is securely clamped to prevent movement. Take your time to avoid overheating the metal, which can cause warping or damage.
– Nibbler Tool: If cutting curves or complex shapes, guide the nibbler slowly along your marked line, turning the panel as needed to follow the curves. Nibblers remove small sections of the metal as they cut, which prevents warping and keeps the edges smooth.
Finishing the Edges
After cutting, the edges of the metal panel will likely be sharp and may have burrs. These must be smoothed out to ensure safety and make the installation process easier. Use a metal file or a deburring tool to smooth the rough edges and remove metal shavings. Be cautious when handling the edges, as they can cause injury if left sharp.
Once the edges are smooth, inspect the panel to ensure it fits properly in its designated space. Make any adjustments if necessary before proceeding with installation.
Conclusion
Cutting metal roofing panels may seem daunting, but you can complete the job safely and effectively with the right tools, accurate measurements, and careful preparation. Whether using tin snips for small cuts or a circular saw for larger panels, following these steps will ensure a clean, precise cut that fits your roofing needs. Always prioritize safety and precision to get the best results for your roofing project.